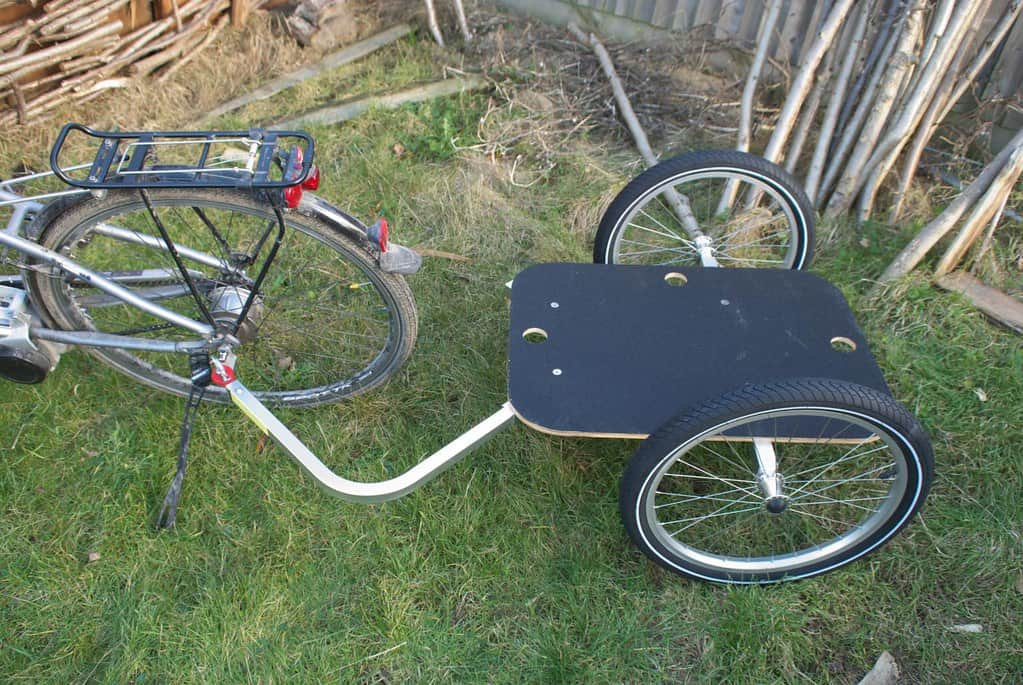
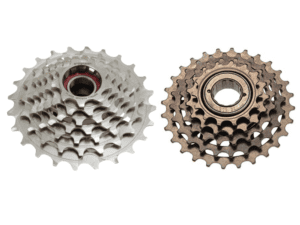
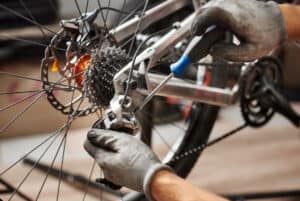
Attaching the trailer to a mountain or any other bike could become a challenging task if you are installing it for the first time. So, we at Decline Magazine have decided to demonstrate how to attach an instep bike trailer in simple and easy steps today.
Let’s take a look, without any further ado:
How to Attach Instep Bike Trailer? Step by Step Guide
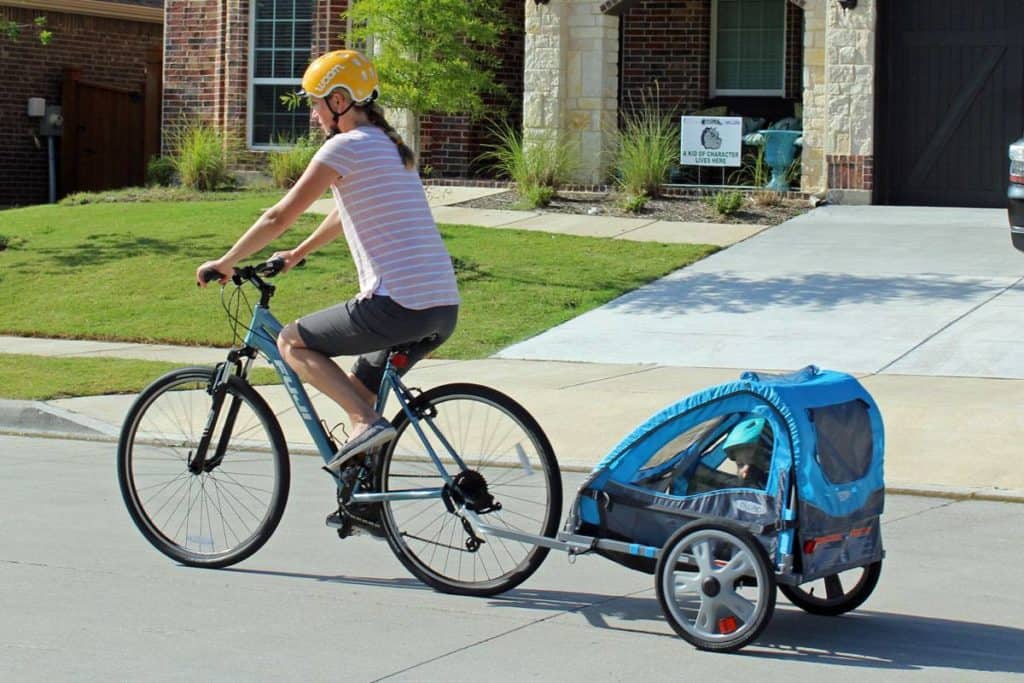
Attaching the instep bike trailer is done in two ways, i.e., by connecting it to the seat post of the bike and connecting it to the rear axle. Before we head towards both installation methods, here are some of the things you’ll need beforehand:
Things You’ll Need:
- A bike trailer: Make sure that the trailer you get is compatible with the type of bike you want it to attach.
- Bike Bicycle Trailer Coupler Attachment: You will need an instep hitch (coupler) to connect it to the bike’s rear axle.
- Nylon Strap: A nylon strap will make the attachment secure and protected simultaneously.
- Few retaining pins: For making the lock secure enough.
- Seat Post Receiver: We’ll need it while attaching the bike trailer on the seat post.
How to Attach Instep Bike Trailer to the Rear Axle?
Step 1: Attach Instep Bike Trailer Coupler to the Rear Wheel
The first step involves attaching the trailer hitch or receiver to the rear wheel.
Remove the rear axle from the wheel but ensure that you do not detach the wheel completely. Attach the hitch and then reinsert the rear axle into the wheel. Tighten it up, and bingo! You have attached the hitch successfully to the rear wheel.
There is no need to remove the hitch even if you do not intend to attach an instep trailer to it for a long time. It’s smaller in size and will have no impact on your MTB bike. Plus, through it, you can detach or attach the trailer daily.
Step 2: Extend and Lock Trailer’s Tow Arm
A trailer’s tow arm helps it get attached to a bike with ease and convenience. It’s usually folded down the trailer, so you’ll need to unfold it first.
After unfolding and extending the tow arm, you’ll have to lock it properly. For that purpose, insert a retaining or security pin in the holes and secure its clasp on the other side. You have now extended and secured the lock of the tow arm successfully.
Step 3: Attach Tow Arm to the Hitch
The most crucial step while attaching an instep trailer to the bike! Take the unloaded trailer closer to your bike and insert the end of the tow arm into the hitch accordingly.
Next, align the holes on the end of the tow arm with the hitch holes. Once aligned, insert a retaining pin inside and secure the clasp to successfully attach the trailer to your bike.
Step 4: Wrap Nylon Strap
Last but not least, for additional security, wrap a strap of nylon across your bike frame and cover the tow arm by clipping the strap into the D-ring.
It will make the attachment much more secure, and you’ll enjoy your ride without worrying about the trailer.
Step 5: Take a Test Ride
Do not load the trailer as of now! Take your bike on a test ride to check whether all things are in place or not. If the tow arm is not attached correctly, check the alignment of the holes and realign them to avoid any problem.
Step 6: Load the Trailer
Load your instep trailer with cargo, your pet, or your baby and drive them around without facing any problems.
That’s how you can attach an instep trailer to the bike via the rear axle. For a visual demonstration, you can take help from this video mentioned below:
How to Attach Instep Trailer to a Bike Seat Post?
Step 1: Install Receiver on Seat Post
Detach the bike seat from the seat post and install a receiver on it accordingly. You can conveniently get a receiver from any online marketplace or a bike shop.
After installing the receiver, install the bike seat again as we’ll attach the trailer to the receiver in the next step.
Step 2: Lock Tow Arm of the Trailer
Similar to what we discussed above, you’ll need to extend and lock the tow arm of the trailer after unfolding it. Make sure that you use a retaining clip to make the lock as secure and protected as possible.
Step 3: Attach the Hitch to Receiver
Similarly, insert the tow arm into the receiver and align the hitch holes with that of the receiver. Insert a retaining pin and secure the clasp to attach your instep trainer to the seat post of your bike conveniently.
Step 4: Wrap the Nylon Strap
You can also secure the attachment by wrapping the nylon strap across the seat post and hitch arm. Clip the strap into the D-ring to make the lock secure enough.
Step 5: Take a Test Ride
Just like the method we mentioned above, take a step ride with an unloaded trailer to check whether the trailer is moving with your bicycle or not.
Step 6: Carry Cargo Anywhere You Want
Load your trailer as per your requirements and move it around anywhere you want. We recommend keeping your pace slower, mainly when the trailer contains pets or babies, to ensure maximum security and protection.
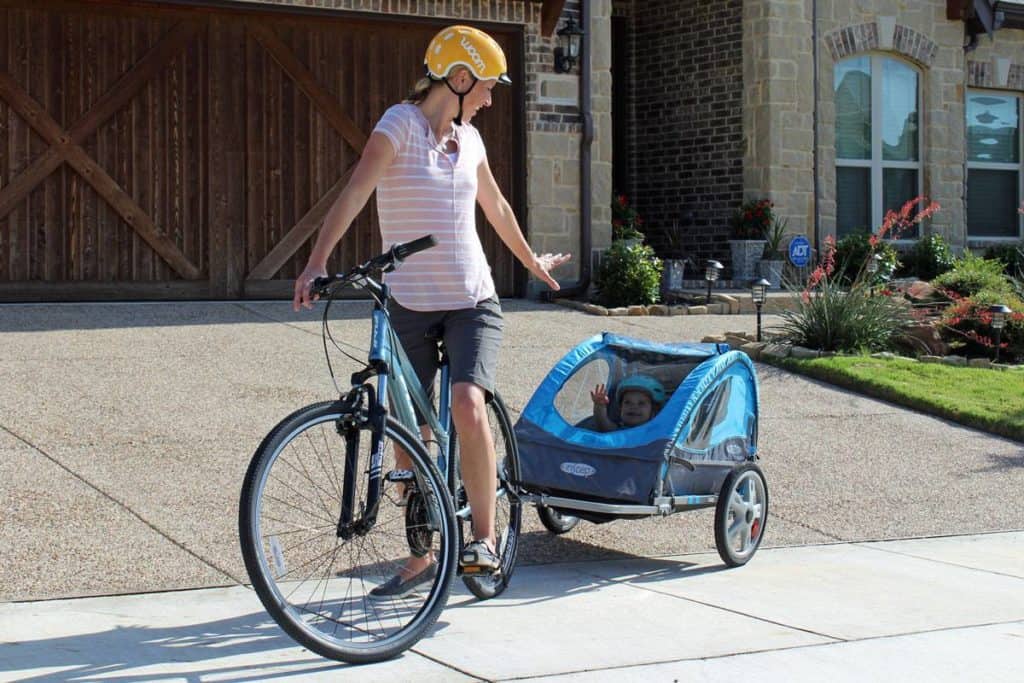
That’s all about the attachment process.
If you are new to purchasing a bike trailer, make sure that you keep these considerations in mind before making the final decision:
What Makes a Good Instep Bike Trailer?
Compatibility:
The instep trailer you want to attach to your bike will be of no use to you if it isn’t compatible.
So make sure that you purchase it according to the type of bike you own. It could be a mountain bike, a road bike, a gravel bike, or even an XC bike.
If the trailer is made to install to a specific brand or model of the bike, make sure that you have it, or else it will not be able to function as expected.
Hitching Mechanism
Considering the most common hitching mechanism is the Q/R or Quick Release, you should try finding a trailer that has it. Other hitching mechanisms are also included in some trailers, but we’d suggest you go with the Quick Release mechanism to avoid any problems while installing it on your bike.
Size Matters
Instep trailers usually come in a double-seater size, which is quite spacious on the inside and allows bikers to add different things to it simultaneously.
Size may also vary depending upon your needs and requirements. A double-seater trailer is perfect for pets and babies. But, if you need something smaller, compact options are available for you in the market.
Build Quality
The use of premium and high-quality materials in a trailer means it will work for a long time without causing any problem.
Thus, we recommend purchasing such products from a well-renowned brand as these manufacturers offer a warranty on their goods.
Safety and Protection:
Safety and protection will not matter if you transport cargo from one place to another. But, it would have a significant influence if you want to carry around a pet or a baby.
Make sure that the trailer you purchase is certified for safety standards. The ASTM certification is a must if you want to buy an instep trailer while living in the United States.
FAQs
Can you attach a bike trailer to any bike?
A bike trailer uses a tow arm and a coupler/hitch to get attached to a bike. If your bike has a hitch/receiver installed, you can easily connect a bike trailer. We can assume that you can attach bike trailers to mountain bikes, road bikes, e-bikes, hybrid bikes, and even daily commute bikes.
Does the instep bike trailer fold?
The extending tow arm of an instep trailer can easily fold. Detach it from the coupler and then remove the retaining pin from the extension. Fold it underneath the trailer accordingly.
Where do bike trailers attach?
Bike trailers generally get attached in two ways, i.e., through a rear axle or with the bike’s seat post. In both ways, you’ll need to attach a hitch/coupler to connect the bike’s rear axle or seat post to attach the tow arm of the instep trailer.
Final Takeaways:
Instep bike trailers are versatile enough to carry goods, pets, and babies without hassle. They can easily be attached to any bike in two different ways. Follow the guidelines and attach an instep trailer to your bike within 5 to 10 minutes without facing any problem.
Good Luck!!
