Are you looking for a guide on installing disc brakes on a mountain bike since you want to shift from V-brakes to disc ones? If so, you’re in the right place.
We cover a step-by-step guide so you can conveniently install a disc brake on your MTB bike. But before that, here are a few things you need to know about a disc brake and other parts of your MTB.
Checking Bike’s Compatibility With Disc Brakes
MTB Frame
Any frame compatible with disc brakes must have attachment points installed to ensure the discs’ mounting and other essential components. Just opposite the drive system of the frame, you will find two holes used for installing the disc brakes. These holes are usually known as IS mounts.
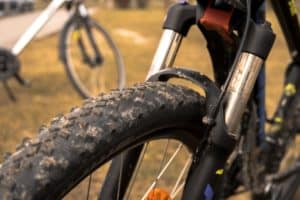
Fork
When it comes to the fork, it should also have the post mounts present to ensure the installation of the brakes. You can change your bike’s fork if it does not possess the post mounts and want to shift to disc brakes.
Wheels
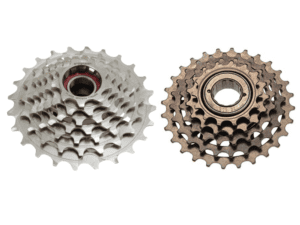
We all know that these brakes get directly installed on the wheels, so they must be compatible with the disc brakes. There are two types of systems installed in wheels to accommodate disc brakes. You need to pick between Centerlock and 6 Bolt disc brakes. Here’s a little more about them.
Center Lock: Consisting of a unique spline on the wheel hub, the Shimano Center Lock accepts the disc (rotor) and locks it into the lockring. You can use different tools to tighten the disc, though.
6-Bolt Hubs: Wheels with 6-bolt hubs or threaded holes attaching the disc brake rotor could also work for installation.
Different Types of Bicycle Disc Brakes and Which One to Select?
Based on the size, the different types of disc brakes available in the market include:
- 140mm
- 160mm
- 180mm
- 203mm
We recommend the 160mm for your first experience with these brakes. However, you can opt for bigger sizes (they offer a larger surface) if you want more power and control in your brakes.
Tools Needed For Installation of a Disc Brake
Pre-assembled disc brake set from the brand you like
Set of Allen Keys or Allen Wrench: We’ll use them to attach the disc rotor to the wheel, usually consisting of 5mm bolts.
Torx Driver Set: For attaching the rotor disc bolts. We’d suggest getting a Torx T25 set as it’s available almost everywhere.
Torque Wrench: To adjust the torque of disc bolts and brake calipers.
Side Cutters: For cutting and trimming the zip-ties.
Rope Locker: Used for locking rotor bolts.
Bike Repair Stand: Installing the brakes becomes easy when adjusting the bike on a repair stand. You can get any bike stand you want, depending on your budget.
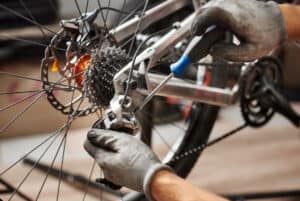
How to Attach Disc Brakes to the Front Wheel?
Step 1: Remove V Brakes
First, adjust the bike on the stand and remove the traditional rim or V brakes installed on the bike using Allen keys and a screwdriver. Similarly, you have to remove the handlebar levers.
Step 2: Remove Front Wheel
We’ll get started with removing the front wheel, as installing these brakes is a little bit tricky with the front wheel on. After installing the front discs, we’ll get them back on when required.
Step 3: Handle Disc with Care
While moving the disc and installing it on the front wheel, ensure it does not get brake dust. A better practice would be to handle it while wearing gloves. You can use a clean rug with alcohol to clean the disc rotor properly.
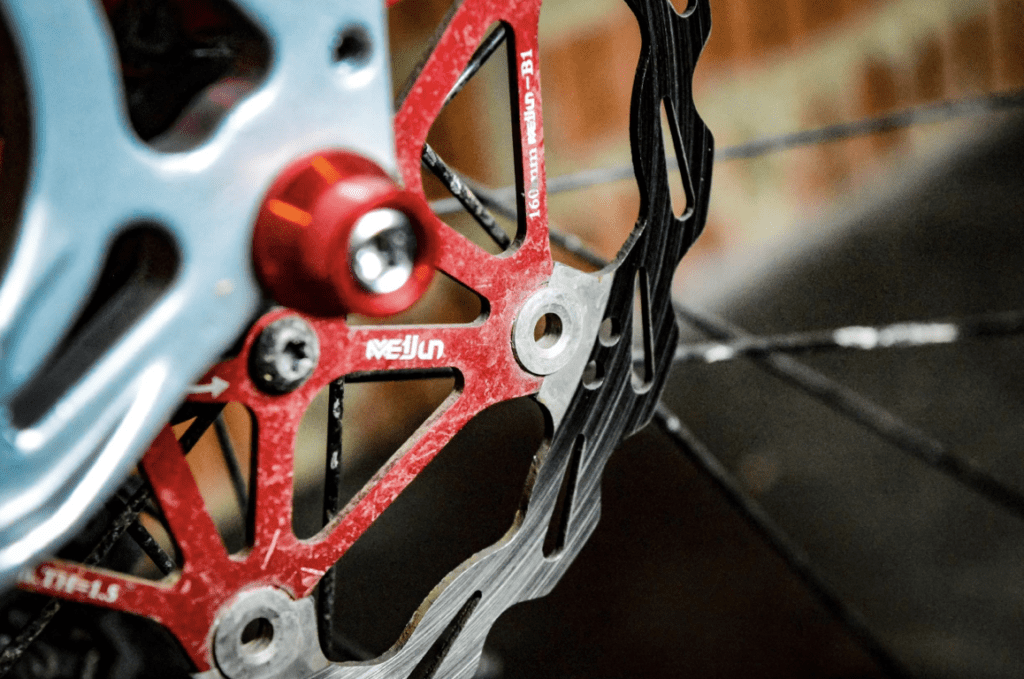
Step 4: Adjusting Rotor on the Front Wheel
You might find your wheels are able to run disc and rim brakes. Typically though, you will need to swap out your old wheels for a disc version.
As we are using a wheel with a 6-bolt system, start snuggling the six bolts into the holes of the wheel hub to attach the disc. Please do not turn it forcefully as it can damage the wheel.
After moving the rotor in a clockwise direction, start tightening the bolts manually but in a star-shaped pattern to avoid bending the disc. Using a torque wrench is highly recommended.
Step 5: Clean the Disc Again
After aligning and adjusting the rotor on the wheel hub, take a clean rug with isopropyl alcohol or any other brake cleaner and wipe it off to remove any debris off it. Make sure that the disc is clean before starting with the following process.
Step 6: Re-attaching the Front Wheel
Re-attach the front wheel back to the fork the way you removed it in the first place. Similarly, select the front brake calipers and remove caliper spacers (red plastic piece) from them accordingly. It’s always deemed good practice to install the spacers after removing the rotor from the calipers.
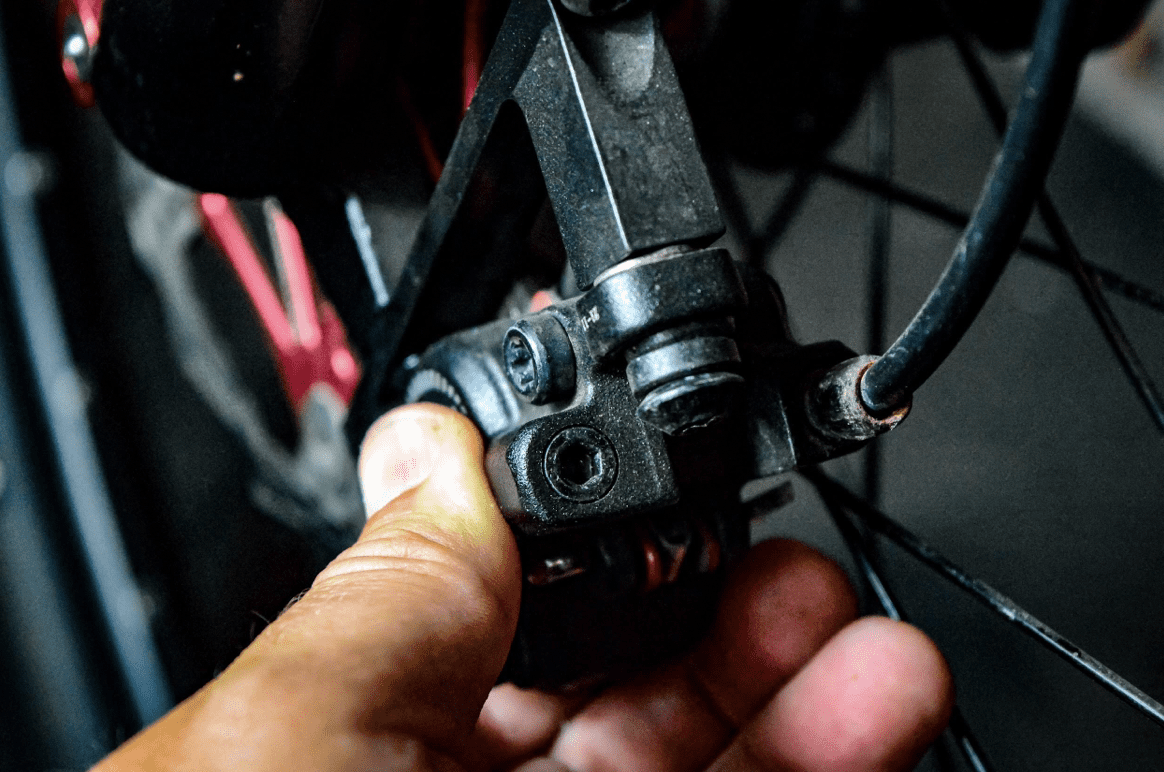
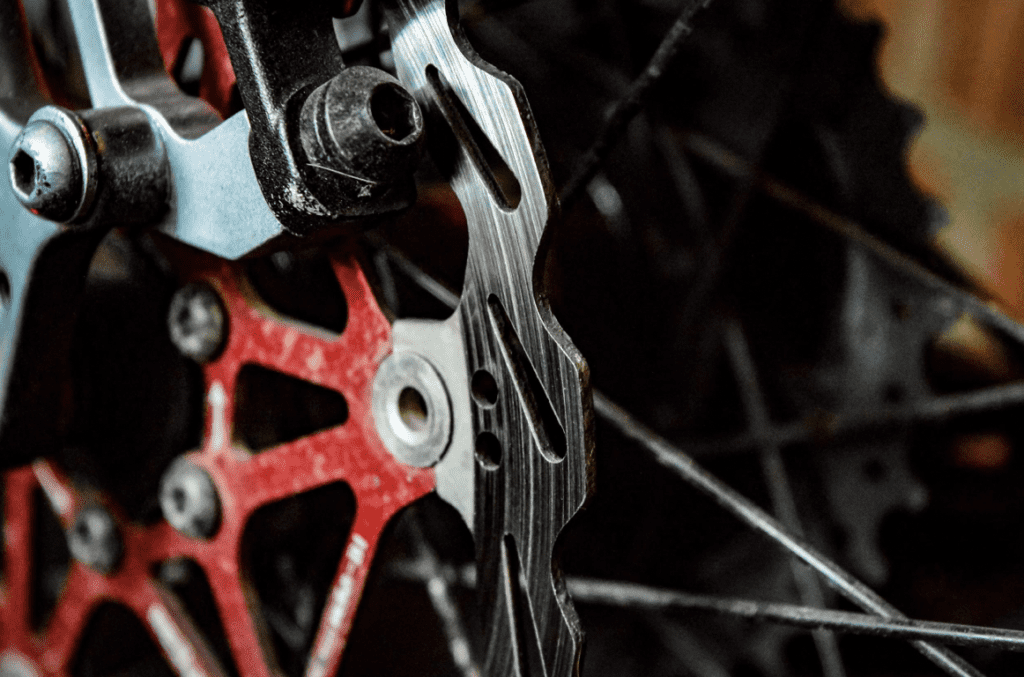
Step 7: Align Calipers and Brake Lines
Next, slide the calipers over the disc and align the attachment points simultaneously. While you do that, keep the two bolts loosely attached and not too tightened. That is to make sure that you can still move them with your hands while adjusting the brakes.
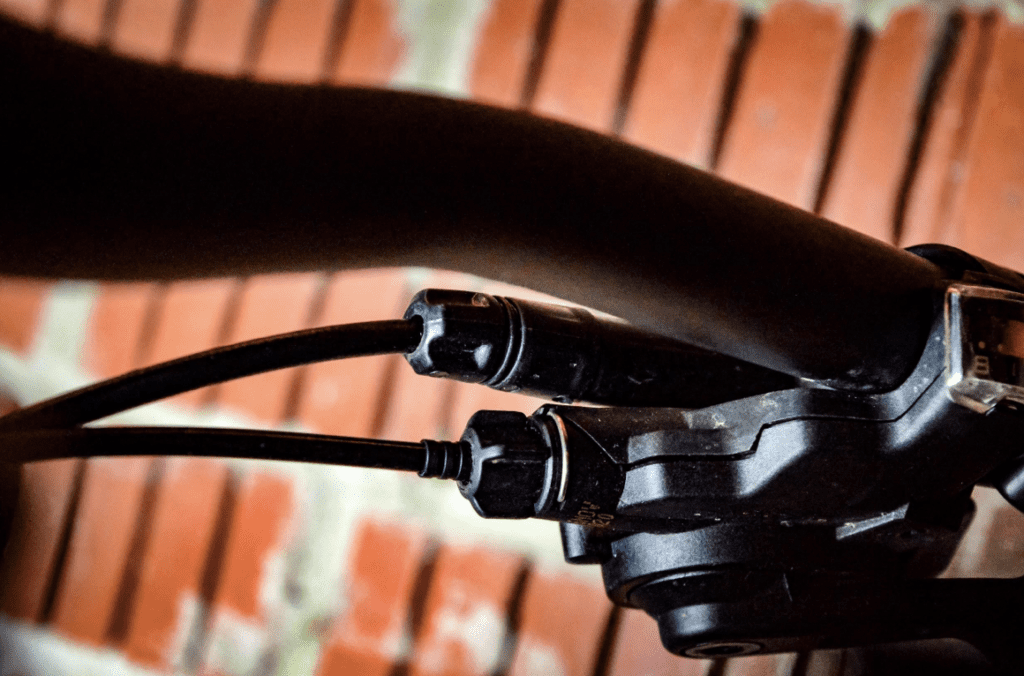
As we already know, the front brakes always attach to the left side of the handlebar. Unless you’re in the UK, direct the hydraulic brake lines to the left side. Attach the brake lever to the handlebars while loosely aligning the brake lines.
Add the lever to the bars. Once on, start with a light, squeeze the brake levers, and spin the wheel up to 4 times to ensure that the calipers align appropriately to the disc brake.
Hold the brake on the final time and tighten up the caliper to align the brakes. Typically most brakes come ready bled. If not, you will require bleeding.
Step 8: Zip-tie the Brake Lines
Zip-tie the brake lines with the fork and frame as per your requirements. Use a cutter to trim off extra stuff. Last but not least, adjust the position of the brake levers according to your hands and tighten them using screwdrivers accordingly.
Side Notes:
Before taking the bike for a test ride, do the bike bouncing test to check for any rattles. You have to lift your bike for like 4 to 6 inches and drop it back on the ground. Do the tweaks if anything makes noise, and then take your bike for a ride to check whether the brakes are working correctly or not.
How to Attach Disc Brakes on the Rear Wheel?
Step 1: Remove Rear Wheel
Remove the rear wheel of your mountain bike and attach the rear disc brake to it using the same steps we followed for the front wheel above. Just make sure that you align and torque down the bolts in a star pattern to keep the disc away from bending. Once this is done, return the wheel to the bike.
Step 2: Routing the Brake Line
Routing the brake line can be tricky for the rear wheel. First, attach the calipers and start routing the brake lines from the chainstay, followed by the seat tube and the top tube to reach the handlebars. Some bikes will differ compared to this.
Step 3: Attach Brake Lever
Loosely attach the brake lever on the right side of the handlebar and tighten the caliper bolts with the same procedure that we followed during installation on the front wheel.
Step 4: Attach Caliper
Loosely attach the caliper to the rear frame and use spacers if required. Spin the wheel and pull the brake to grip the disc. With the disc gripped, you want to hold the brake and tighten the caliper to align it properly, then tighten it up.
How to Adjust Mountain Bike Disc Brakes if they rub?
The need to adjust mountain bike brakes only arises when disc brake pads rub with the wheel. When that’s the case, remove the wheel and re-install it carefully to remove the rubbing problem. If the rotor disc rub is slight, use a light behind the brake pads and move the wheel. It will show you whether the caliper adjusts in the center or not.
If you see that the calipers aren’t centrally adjusted, loosen the caliper bolts and re-torque the caliper bolts while holding the brake lever. If the problem persists, loosen the single caliper bolt while the wheel moves freely and adjust it until the rub disappears. You can then re-torque it according to your requirements.
Benefits of Disc Brakes You Should Know
There are many benefits of a disc brake over standard rim brakes, so we will discuss some of the most important ones as follows:
- Rim brakes can lose their stopping power after splashing into muddy water during wet conditions. Thus, you will not be able to stop your bike, especially if you are heading downhill. On the other hand, a disc brake is safe from splashes and maintains good stopping power.
- Even if the rotor gets wet, the calipers’ force can wipe off water and extra debris from the disc.
- Disc brakes also offer better brake modulation with less lever force, thus ensuring more control over your mountain bike.
- Even if the rim bends during a ride, it will not impact a disc brake.
- Not only that, but the self-adjusting property of a hydraulic disc brake allows them to readjust without any maintenance. That’s certainly not the case when we talk about rim brakes.
- Even if a disc is bent or damaged, installing it is relatively straightforward and takes less time than installing rim brakes.
Recommended Disc Brake Brands
Shimano: Shimano brakes are currently the most popular items on the market. The best thing about this brand is that it sells complete brake sets rather than separate components. This will not only cut down your costs, but you’ll also be able to install the brakes on your own. Shimano is, therefore, our #1 choice.
TEKTRO: The brand is relatively new compared to Shimano, but it is ideal for anyone that wants a disc brake on a budget.
SRAM: Another brand that you could try. But braking issues are common with SRAM disc brakes even though they are available at a cheaper price tag compared to Shimano disc brakes.
FAQs
How much do Disc Brakes Cost?
A rough budget for a basic disc brake is $100. High-end brakes can be up to $700. However, that’s when you have all the tools available at your disposal. With the addition of the tools, the cost could rise about $150 depending upon what type of keys and Allen head wrenches you buy.
Are Disc Brakes Better than V Brakes?
Compared to traditional V-brakes on mountain bikes, disc brakes offer an instant solution to stopping the bike quicker. Meanwhile, the expense of maintaining disc brakes on a mountain bike is very low once you get ahead with the installation.
Can You Install a Disc Brake On Any Bike?
Compatibility here is of prime importance! Some bikes are compatible with disc brakes, but unfortunately, you will find many bikes that do not offer disc brake installation. Check your bike’s specification or look for the disc mounting points on the frame.