Are you a newbie worried about riding downhill? Well, here are some tips to ensure you have a smooth ride each time.
Tips to Improve your Downhill Riding
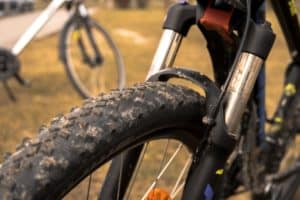
Tip 1. Bike Downhill Setup
Before hitting the mountain for a downhill practice session, set your downhill mountain bike right; the factors to work on for a great downhill bike are mountain bike tire pressure, handlebar arrangement, bike suspension setup, brake levels, and transmission shifters.
Tailor these components in the preparation of a downhill depending on your weight. If it’s a usual route, make the settings concerning the trail route and your preferred riding style.
Correct component balance could be all that you need for a perfect performance. If you are a newbie, pay attention to some of the downhill’s setup areas of concern.
Brake rotors. Bigger brake rotors release heat faster and are less likely to have a pump-up. If damaged, replace the rotor for the full downhill experience.
Rear shock setup. Rear shock should work best with 30-35 per cent rag for downhills. Increase or decrease the sag through the air pressure or spring change. For correct downhill shock sag settings, you could prefer to ask your bike’s manufacturer.
Tire pressure. Proper tire pressure prevents punctures. The pinch tire is more likely to suffer a pinch flat; thus should be firmer and a front-wheel much softer for increased traction.
When preparing for downhill, I always ensure my front is 22 to 25 psi and 25 to 28 psi on my rear.
Bar height. Downhill might result in an increased suspension. Thus bars tend to be very high without noticing.
Higher bars increased the bike’s center of gravity which alters your body positioning and bike stability. Would you please set it to a low-rise or flat bar for better cornering abilities?
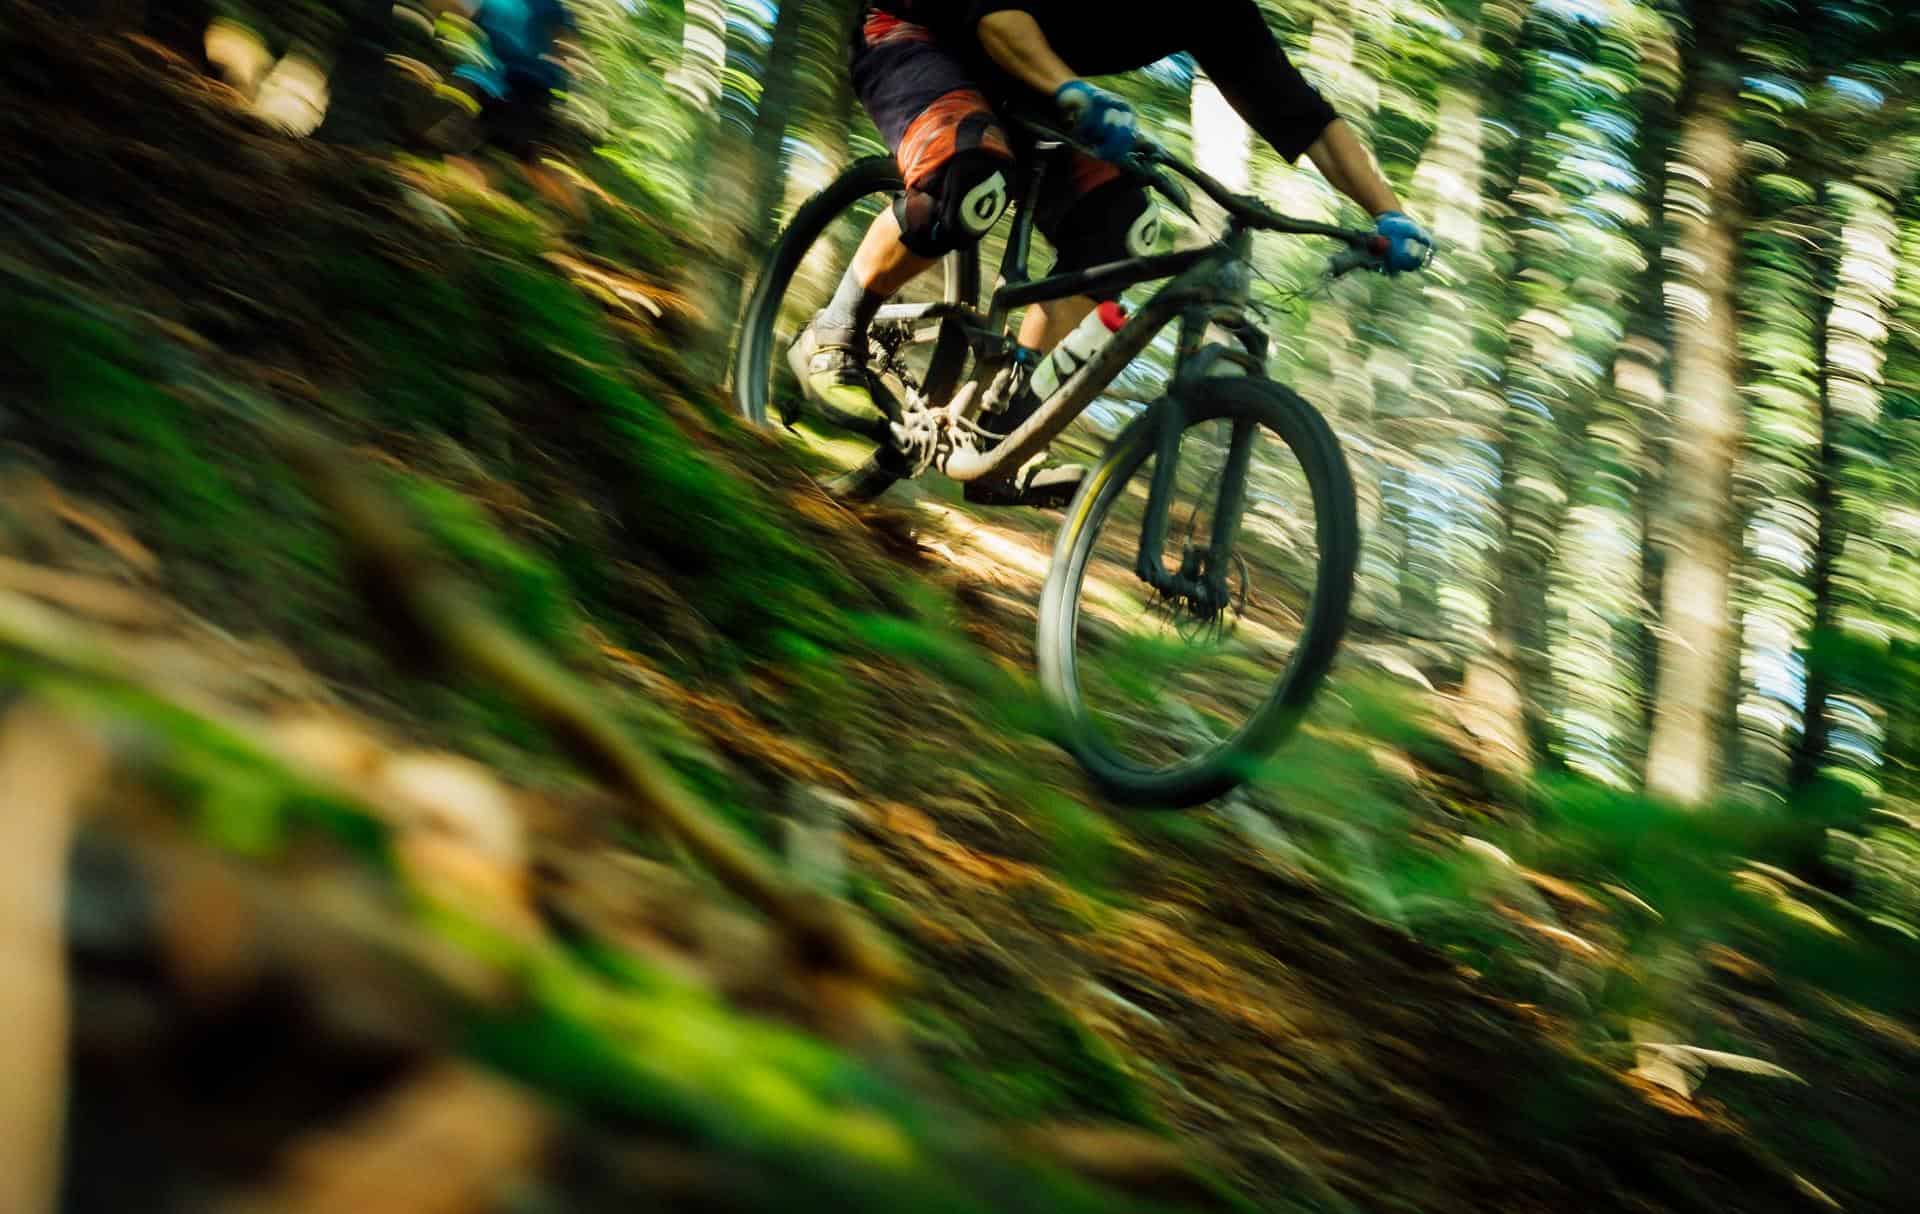
Tip 2. Body Position
Body position contributes significantly to your success in mountain biking. A neutral descent posture calls for a centered stand-up position on the bike.
Maintain open elbows as you look straight ahead with low heels and slightly bent knees. The sitting position helps absorb shock that follows hit obstacles on the downhill.
Few tips on improving body position on the bike
Tip 3. Eye Position
For a downhill, keep eyes straight ahead. Looking ahead is an MTB golden rule. Your speed is much faster; thus, maintaining a forward look gives you a sharp focus and faster resources. An obstacle catching you off guard could lead to a severe injury.
Eyes ahead is a downhill technique I used to read the terrain. It takes time, though. A rider can look at least 5 meters ahead on high focus can do maximum downhill speed seamlessly.
Slow down if you can keep up ahead on your speed. Practice right, and you will be amazed how this will change your mountain biking skills.
Tip 4. Leveled Pedals and Active Brakes
Pedal downhill ride level up on the downhill. 3 and 9 o’clock is a great pedal leveling giving you a perfect position to pump the bike.
This position transfers your body weight through the flat pedals to the suspension and wheels. It prompts your body grip and bike speed.
The bike pedal acts as a pivot; thus, you must balance the weight between load and effort when riding.
Brakes must be active at all times just in case you encounter an obstacle. This is where your hand and finger position come to play.
Proper brake handling must be active, anticipate obstacles and absorb small holes while maintaining speed and stability.
Proper body position is an instrument to create a rider’s MTB system. The system enhances a stable and dynamic posture while still maintaining a constant body grip and wheel grip.
Tip 5. Practice On-Finger Braking
Braking through a downhill is a real art. Sight, position, and weight distribution are valuable elements for a perfect downhill, but you either risk an accident or excessive slowdown without a proper braking mechanism.
On a downhill, one finger does the brakes, bike index-finger braking. Make a fist around the grips with your hand while keeping a good hold on the handlebar.
To ensure the brakes system works well, the levels should be in the correct position at all times.
Tip 6. Have a Perfect Braking Strategy
Proper breaking has saved my day so many times. Enhancing your braking art takes time. MTB rear brakes are swift and on point.
They only require a soft touch with precision to bring your bike to a halt. A long descend calls for an on and off braking system.
It has two significant roles. One, it prevents the brakes from overheating, and two increases downhill bike stability.
More straight sections need front brakes more. It is an effective slowdown strategy, especially on steep gradients or before a corner.
Use the following tips to test your bike’s braking prowess to enhance better handling.
- Look for a gradual slope with expansive run-off space, then mark a start line.
- After the start line mark 5-10 meters braking line.
- Without locking the front when up, try using the front brake to bring the bike to bike parks. Do a few meters from the start line.
- Repeat the same braking strategy but now use the rear gear to bring the bike to a halt, without wheel lock or sliding. Repeat the exercise with both sliding brakes and rear brake and front alternatives until you realize which brake gives you a faster halt and is best used in a downhill bike setup.
Tip 7. Gym Is an Added Advance
Bikers who seriously work out and lift weights have a better riding experience than those who don’t.
As much as mountain biking requires skill and the right bike to make it easier, it would help if you had power.
Strength, power, and output are great ways to build on your splinting ability. It’s a valuable way to prevent injuries, increase your energy levels and avoid downhill crashing.
Isometric exercises, aerobic floor exercises, and proprioception tasks help develop more power and strength output.
Specific exercises will help boost your body power which you should put more concentration on; bench presses, pull-ups, squats, deadlifts, military press, and lunges.
Use reasonable weight to tone your muscles in shape and build up. Find an experienced instructor who will ensure you do the right exercises.
Tip 8. Clothing
Body armor and clothing are vital for better downhill performance. A full-face helmet, for instance, is a mandatory requirement.
Always wear knee pads, back protectors, elbow lift, and long finger gloves. There are so many barriers on a downtrend, and since you are on a high speed, you might not manage to evade all of them, say a falling twig of loose rock.
Proper body armor gives you confidence and provides and extra body covering.
Suitable body clothing is all about gaining body comfort and the proper protection without added weight. Also, have a well-fitting pair of goggles.
This should protect you from dust and debris in the woods. Depending on your pedal type, have flat or clipped shoes, which match your biking needs.
Finally, as you will find in my other articles, don’t forget a long sleeve jersey compiled with waterproof trousers or shorts. Perfect clothing prevents any mishaps on a downhill.
Tip 9. Perfect Drop Off
Drop-offs are common in downhills. It, however, depends on mountain trails; however, for a better experience and testing biker’s mastery of skills, most biking competitions ensure there is a drop-off point at different points in the track.
My first drop-off wasn’t any fun. It sent shivers down my spine, and for me, it seemed like the endpoint of earth.
A rider’s experience on different terrain is different. All drop-offs demand one thing in common, proper body position and self-confidence. Once the front wheel starts the drop, they will lean forward, and your bike tilts towards the front, and there’s nothing you can do.
Drop off control needs your shift the core of your back, arms straight, and push your feet down and forward. Maintain this posture, and your bike will land perfectly in an even position.
Your arms and legs should absorb the impact force. The key to keeping the bike in control after a drop-off depends on your ability to control it and remain relaxed.
Some more tips to help you out
Conclusion
I am confident if you take the time to follow these 9 downhill tips carefully, you will love your new downhill skills.
Understand your limits, however, but don’t go too easy on yourself either. Have confident riding and enjoy the spectacular downhill adrenal rush.