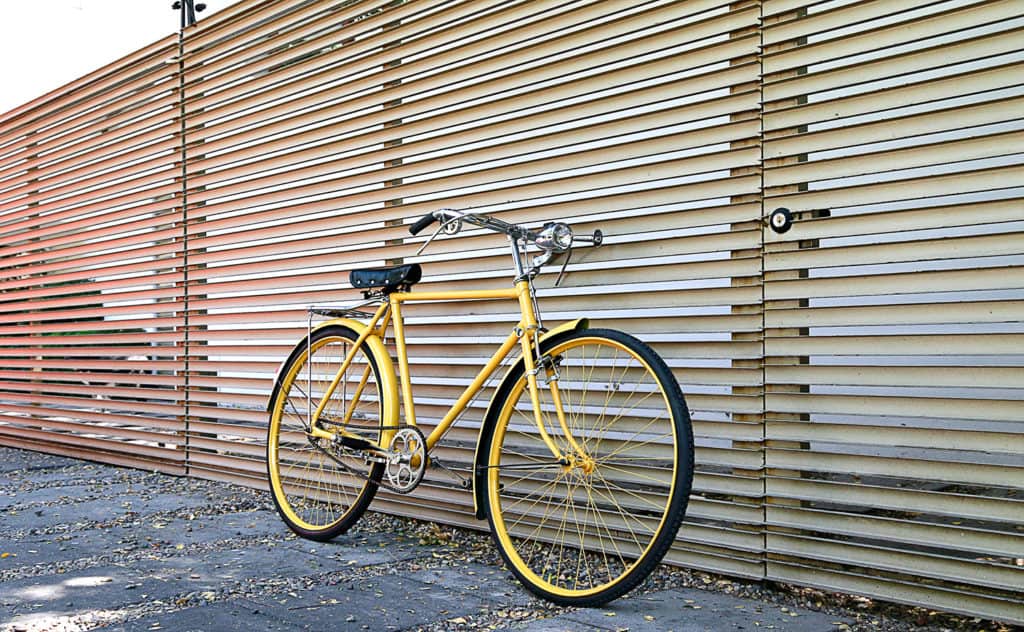
Anyone can paint their bike themselves as long as they have all the necessary tools and a little bit of time on their hands.
You can decide to learn how to spray paint your bike or stick to normal paint. You might also have to disassemble your bike to get it painted correctly and then put it back together again when the paint is dry.
This guide will look at how to paint your bike with and without taking it apart.
How To Spray Painting Your Bike
If you want to spray paint your bike and you don’t mind disassembling and assembling it in the process, you can follow the steps below to get started.
1. Disassemble the Bike
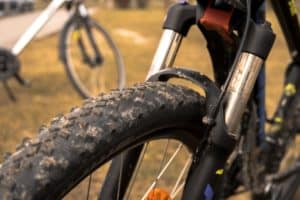
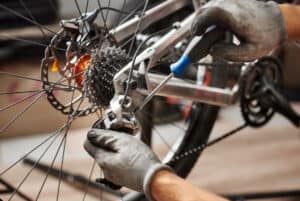
The first thing to do is prepare your bike for painting, and you need to disassemble it until all you have left is the frame. This means you need to remove the wheels, the bottom bracket, the chain, the handlebars, the front forks, the left and right cranks, the front and back derailleur, the brakes, and the seat.
You should also remove any other attachments on the bike like a basket, bike bag, or water bottle holder. Ensure you arrange all the screws and parts you removed, and label them to make reassembling easy.
2. Remove Decals and Labels
Now, you need to remove any label and decal that might be on your bike. If your bike is really old, the labels might be stuck on, and you won’t be able to remove them with just your fingers. You can use a heat gun or hairdryer to make it weak before removing it or scrape it off with a utility knife.
3. Wipe and Sand Your Bike
It would be best if you wiped your bike down before sanding it because of residue glue on it. You can spray some WD-40 on the frame and wipe it with a cloth. Sanding your bike is important because it makes the paint stick.
You can sand your bike with low-grit or high-grit sandpaper depending on whether your bike was painted with thick, glossy paint or matte paint, respectively. You should also use high grit if there is no paint at all.
4. Wipe and Cover Up
After sanding, you need to wipe your bike again with a cloth in soapy water. Then, there are some parts of the frame that you’re not meant to paint, like the bearing surfaces, threads, and brake posts. You should apply painter’s tape on these parts to keep them protected from the paint.
5. Set Up Your Painting Station
Now that your bike is prepared, you need a painting station in a well-ventilated garage or outdoors. Lay a tarp on the ground to keep paint from staining the floor, and also get a dusk mask or safety goggles.
6. Hang or Mount Your Bike Frame
You can decide to either hang your bike frame up with wire or rope, but if you don’t have anything to hang it to on the roof, you’ll have to mount it on a table instead.
You can hang your bike frame on the rafter of your porch or a tree branch or the ceiling if you’re in the garage. Regardless of where you hang it, all frame parts should be easily accessible when painting.
If you have a table, desk, stand, or any other similar structure that you can mount your bike on, you can use these instead. Create a makeshift stand by putting a broom through the head tube and clamping it to the table. It should be high enough to keep the frame off the ground.
7. Add the Paint Coats
Now, you can get your spray paint and start giving your bike that new look. When buying paint for your bike, look out for only high-quality options, and don’t mix paint from different brands. Also, specifically, purchase either matte or gloss paint meant for metal.
Hold the spray paint can about a foot from the bike frame and apply a layer of paint. Keep on moving as you paint because if you add too much in one area, you end up with drip marks. Go on to add the first layer of paint around the entire frame.
It’s best to do several thin coats of paint when spray painting your bike, rather than adding a thick coat at once. After about thirty minutes, the first coat of paint will be dry, and you can apply the second one. Follow the same process and give it an even coat.
It would help if you kept repeating this step with thirty minutes in between until you couldn’t see the old paint anymore. To protect your bike frame from rust, you also need to add a clear coat to the bike after a few hours.
8. Dry and Reassemble
Leave your bike frame for 24 hours to fully dry, and protect it from weather conditions if you paint outside. Avoid touching the bike during this time, too, so you don’t smudge the paint. Once it’s completely dry, you can remove the painter’s tape you added before.
Then, you can put all the parts you previously removed back together and try out your newly painted bicycle.
Painting Your Bike Without Disassembling
If you’re not comfortable removing the different parts of your bike to paint it, you’re not the only one. Many bike owners prefer to learn how to paint their bikes without taking them apart. You can still achieve a new look on your bicycle while the entire unit is intact, and the steps below will show you how.
1. Remove Rust
Without taking your bike apart, you need to remove the rusty parts on the frame. You can remove rust from a bike in different ways, but one of the easiest methods is balling up aluminum foil, soaking it in coke, and using it to wipe the bike. You should also remove any labels on the bike.
2. Sand the Bike
For the spray paint to stick to the bike, you need to sand it first. Depending on what was previously on your bike, you can use high-grit or low-grit sandpaper for matte or glossy paint.
3. Clean and Wipe
Now, you can clean it to eliminate the residue glue from labels, stickiness from the coke, and any other grime on the bike. You can go for a WD-40 degreaser, especially if you have stubborn stains. This degreaser is known for being gentle on your bike.
4. Use Painter’s Tape
You have to cover up the bike parts that you’re not painting, and since you didn’t disassemble it, there is way more to do than before. You can also go for masking tape or newspapers if you’re working with a budget, but painter’s tape works best.
5. Set Up the Bike
The next thing to do is set up the bike, whether in an outdoor area or your garage, with the door open for ventilation. Use a bike mount for the best results, as this would keep your bike in place while spray painting. If you don’t have support, use ropes or wires to hang the bike on the ceiling on the porch or a tree branch.
6. Time to Spray
Finally, it’s time to spray paint your bike. Hold the spray paint about a foot away from the bike frame and spray thin and consistent layers. Avoid drip markers by spraying in constant motion, and after each coat, wait for thirty minutes to properly dry. You need at least three coats for best results or stop when you can’t see the previous bike paint. After a few hours, add a clear coat.
7. Dry the Bike
Leave the bike to air-dry outdoors for about 24 hours. It’s always best to check the weather forecast, so it doesn’t end up damaged by the rain if you’re leaving it outdoors.
8. Remove the Tape
Remove the painter’s tape and try out your new bike.
How Much Does It Cost to Paint a Bike?
If you’re painting your bike yourself, it should cost between $50 and $80 to get the spray paint and all other tools needed. But, while the painting plays an important factor, the quality of the job depends on how good you are as a painter.
When hiring someone to paint your bike, you can spend as low as $200 for a simple job, although the price can also go as high as $15,000 for custom jobs and high-end bikes. In some cases, you might have to pay for disassembly and reassembly.
Although the entire process is time-consuming, it is easy to paint your bike and will save you a lot of money. It can also be a fun process and give you the chance to take proper care of your bike.
How Do You Prepare Your Bike Frame For Painting?
There are different steps to take to prepare your bike frame, and although this seems time-consuming, you can’t directly apply paint to the bike. You should first clean your bike, and it is highly advisable to sand your bike before painting.
Sanding your bike is not compulsory but it would help the paint stick to your bike’s surface properly. It’s also important to remove stickers on the bike before painting, or it would reveal an outline with the new coat of paint.
After sanding your bike, you can then clean it up and protect important parts with painter’s tape.
What Kind Of Paint Do You Use on a Bike Frame?
It’s best to look for high-quality spray paint on your bike frame, although it’s advisable to get more cans than you think you need.
You can also get paint that prevents rust or corrosion, so your new coat of paint can last for a longer time. There are some spray paint brands that are created for bikes especially, so do your research before purchasing one.
You might also wonder if you need a primer to paint a bike. If you want a perfect job, you should apply a primer surface before painting.
This would cover up imperfections on the current paint so that it doesn’t show in the new paint coat, but this is not compulsory. You will also need a special kind of primer if your bike frame is aluminum.
When purchasing paint for your bike, you should ask the hardware store attendant for recommendations on the best paint and primer that they have for bikes.
Conclusion
It’s pretty straightforward to paint your bike, whether you want to disassemble it for ease or paint it as it is. Remember to use high-quality paint and check the weather forecast for the best results. Before you know it, your bike will have a brand new and attractive look.