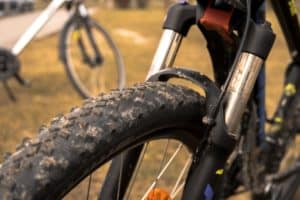
With faulty brakes, you can end up with brake failure, which is dangerous when you’re cycling. This guide will explain everything you need to know about how to replace brake pads. We’ll go over pads for both disc and rim brakes.
Signs That You Need to Change Brake Pads
Bike pads require replacement occasionally, especially if you’re riding during the winter months. Both pads will need replacing a couple of times in a year, but this depends more on your use.
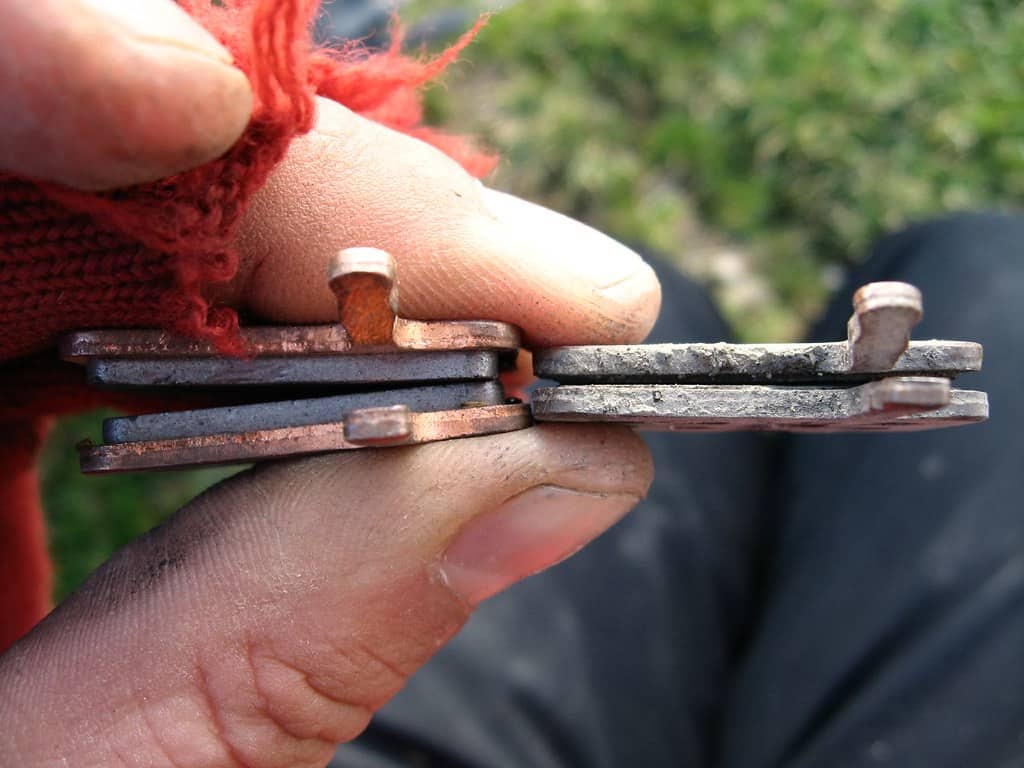
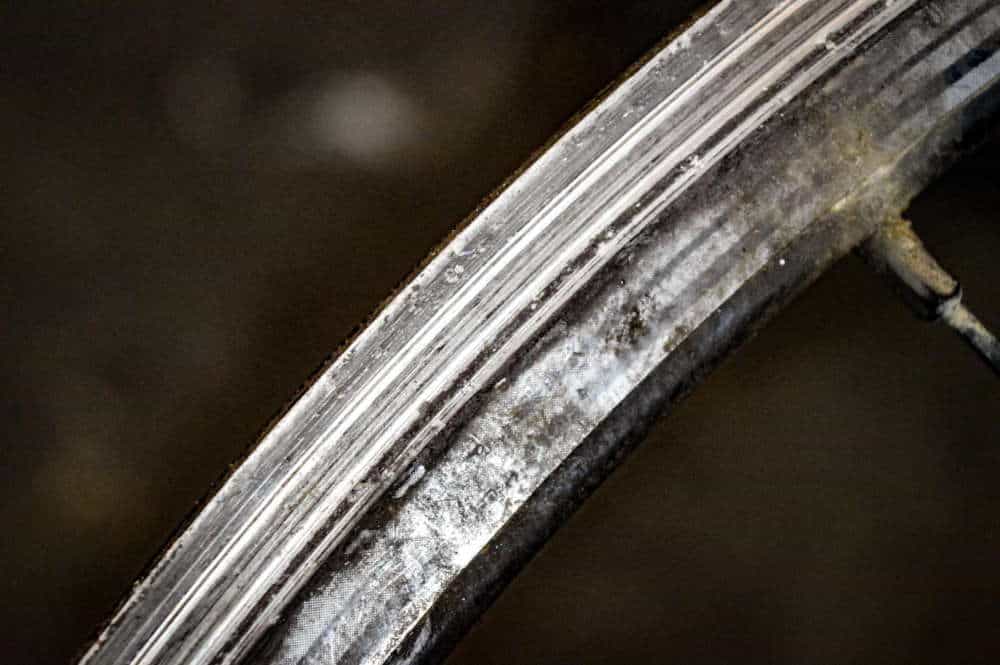
If your bike is fitted with rim brake pads, you should change brake pads when the grooves or teeth in the rubber are entirely worn out. When you look at a new rim-brake pad, you will see some patterns, similar to teeth, in the pad.
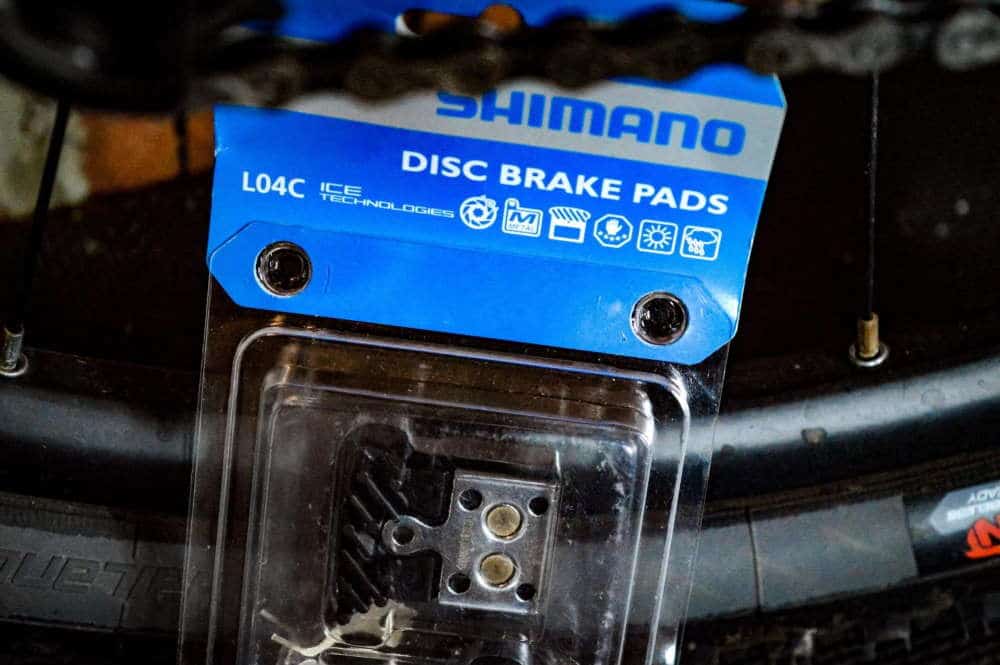
On the other hand, if you’re using disc brakes on your bike, you will have to remove the wheel and extract the brake pad to check if they are worn out. If less than 1mm of the compound is left on the pad, it would stop working efficiently and need replacement.
Generally, when your brake is faulty or makes strange noises, this is a sign that you should replace it.
How to Replace Disc Bike Brake Pads?
Tools Needed
- Replacement pads
- Wide flathead screwdriver
- Needle-nose plier
- Brake cleaner
- Paper cloth
- Work stand
- Tire Lever
Step 1: Inspect The Brake Pads
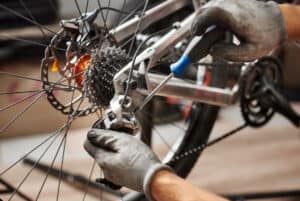
The first step is to remove the wheel from the bike and inspect the pads for any wear and tear. It is a standard bike maintenance practice to check your pads consistently because if they wear out, the backing plate can become exposed and destroy the rotors.
If you are removing the rotors and inspecting the pads, be careful not to use the brakes at this stage. By squeezing the brake lever when the rotors are removed, you push the pistons too far, which would affect the hydraulic system, leading you to you having to reset your brake pistons.
After inspecting the pads, you might notice about 1.5 mm or less of braking material left. If this is the case, follow the next step to replace the brake pad.
Step 2: Clean The System
With a flathead screwdriver, push the former pads into the caliper. If you push the pads directly on the pistons, you can damage them before they are even used. Extract the pad retention system, although it depends on the mechanics of your brake.
If your brake uses a hex or flathead screw-in pin, you will remove the pad retention differently from a split pin.
Then, with the needle-nose pliers, remove the springs and pads. It’s also advisable to clean the caliper from the inside if there’s a build-up of brake dust and dirt.
You can clean it with a paper cloth and a degreaser to clean the rotor or caliper. When cleaning, focus on the rotor if it’s contaminated with grease or oil. If you don’t clean it, the grease can seep into your new brake pads, and you’ll need to purchase another one.

Step 3: Replace the Pads
Now that your caliper and rotor are clean, you can install your new pads. Install the brake pads with the retention pins and clips. Then, reattach the wheel back to the bike, and ensure you don’t squeeze the brake lever.
When installing new pads, assess the caliper’s position to the rotor. The ideal position is: that the rotor should be situated parallel and central to the body of the caliper. If not, remove the mounting bolts and modify them until it is in the center.
After crosschecking that the rotor is working correctly, spin the bike’s wheel and squeeze the lever for the brake. After a few pumps, the pads would bite and start working. But if it still does not work, you need to learn how to bleed your bike brakes.
If your pads are working great, you need to get your bike on the road and try it out entirely. Ensure you practice in a place with no cars, ride the bike fast, and brake hard. Do this a couple of times, and then your bike will be ready.
How to Replace Rim Bike Brake Pads?
Tools Needed
- Replaceable pads
- Needle-nose pliers
- 4mm Allen
- Work stand
Step 1: Inspect The Old Brake Pads
Replacing rim brake pads also involves removing the wheel and inspecting the system, but the inner workings make it different from disc brakes. You can use a small lever at the caliper to open the brake caliper, then remove the wheel.
Check the brake track after removing the wheel and look for signs of gouging. If you use a carbon rim brake wheel, check if there are signs of cracking. If everything is good, you can remove the pad.
Step 2: Remove The Old Pads
To remove the brake pads in a rim brake, look into the brake shoe. You will see a set pin or screw that holds in the pad. If it is a pin, use the needle-nose pliers to pinch the end of the pin and pull it out. But you can remove the screw with the 2.5mm Allen. Either way, you will remove the screw or pin to remove the pads.
Push the pad towards the back of the bike gently so that it slides out of the shoe. In some cases, the old brake pad might get stuck, and it would be difficult to remove them. You can use the needle-nose pliers to propel them out.
Step 3: Attach the New Pad and Test
With the old brake pads out, you can now install the new pad. Before doing that, assess the pads and check for the brake direction indicator. The pad would have a sign that shows if it’s for the left or right side. Take the pad for the correct side and put it in the brake shoe. It is usually easy to put them in.
After this, put the pin or screw back with the pliers or Allen Keys. Then, put the wheel back in and use the lever to close the caliper. You must ensure the pad is well aligned to the rim to improve your stopping power and prevent uneven wear and tear.
If you want to check your brake adjustment, apply the brake and look at where the pad is based on the rim on the brake track. The ideal position should be that the pad firmly touches the brake track without extending off it or reaching the tire.
Another test you need to do is spin your wheel, as this would help you check whether your new pads are rubbing correctly. The barrel adjuster on the caliper moves the pads in or out, depending on the needs. The new pads would also have more material than the old ones, so it’s important to loosen your brakes. Once the wheel spins with no rub, you can stop.
You can then take your bike for a ride to check if the brake is working correctly.
Bike Part Terms and Meanings
Pistons: The piston is a flat, cylindrical part in disc brakes inside the brake caliper. It presses the pads against the rotor when you pull the lever on the brake.
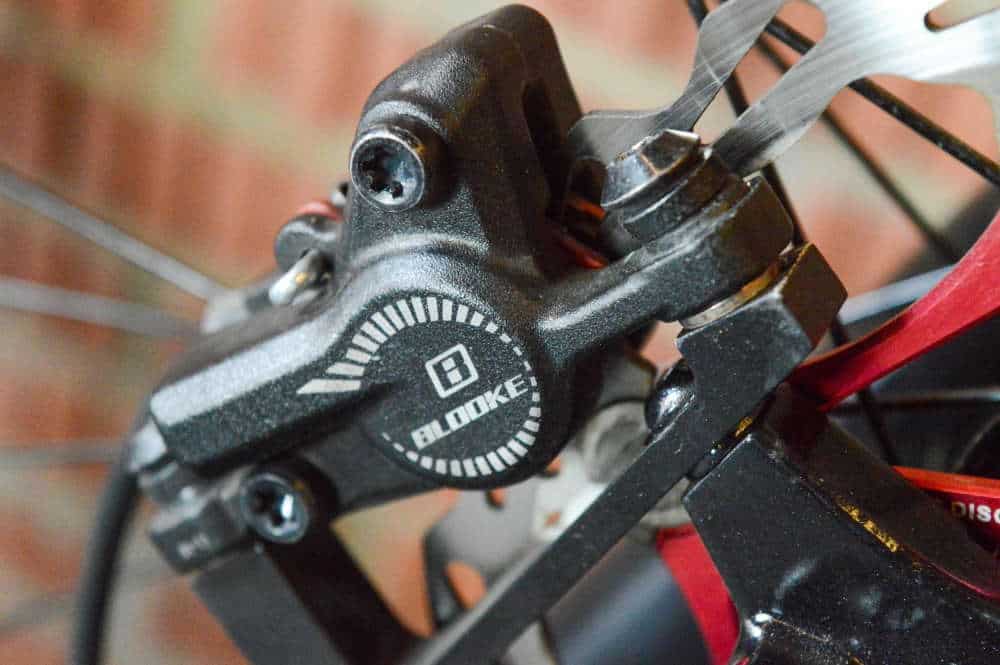
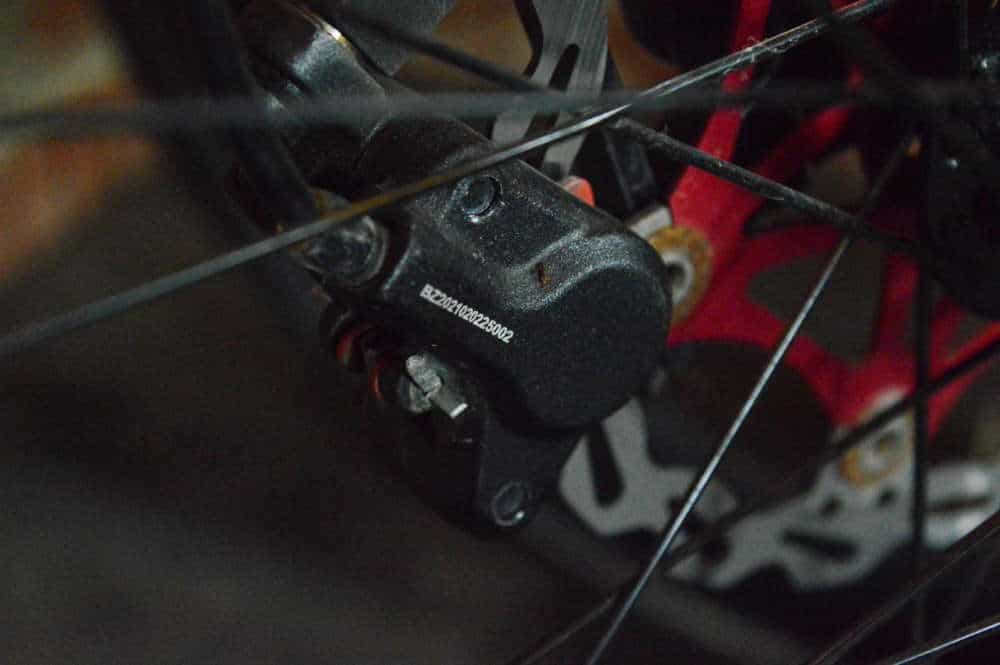
Brake caliper: This is a metal connected to the bike frame. It straddles the braking surface and has pistons and brake pads in it.
Brake rotor: The rotor is a flat steel disc connected to the braking surface in disc brakes.
Brake shoe: The metal holder of the brake pad.
Brake track: This is the part of the disc rotor or wheel rim where the brake pads meet.
Rotor bolts: These are disc rotors attached to the hubs with a large lockring or six bolts.
Lever throw: The lever throw refers to how far the brake lever moves before the pads touch the braking surface.
FAQ
Is it hard to replace my bike brake pads?
No, it’s not. Replacing your bike brake pad is straightforward as long as you understand your bike’s parts. This is why it’s essential to get the right tools, follow the instructions to the latter and familiarize yourself with the process.
How long does it take to replace brake pads?
It takes about ten to fifteen minutes to replace brake pads properly, as long as you’re following the steps right and have the needed tools. It is also faster when there are no other damages to your bike braking system.
How long do bike brake pads last?
A disc brake pad can last between 500 and 1250 miles depending on the type, riding condition, cycling frequency, weather, and braking habit. But rim brakes can last between 500 and 1000 miles. It’s essential to change your brake pads regularly in case of wear and tear. There’s a chance of contamination as well.
Are all bike brake pads universal?
Bike brake pads are universal, but the main difference between them is the compound they are made of and if they are rim or disc. It’s essential to purchase the right brake pad for your bike. You can take the former pad to a bike shop, so they give you the right one.
Do you have to take the wheel off to change brake pads?
Yes, you do. irrespective of the brake system you use, you need to get the wheel out of the way to access the pads. Luckily, you can easily remove and reattach the wheel of your bike without causing any further damage or wasting time.
How do I know what brake pads I need for my bike?
Check for what your brake is called, and then search for a rim or disc pad of the same type. You can ask the manufacturer of the bike or a bike repair shop by informing them of the model of your bike. You should also check if the shape of the new pads matches that of your old ones.
Can I change brake pads without changing rotors?
Yes, but this depends on the condition of your brake rotors. If your rotors aren’t damaged, you can easily remove the worn-out brake pads and put in new ones without touching the rotors.
Final Thoughts
If your bike brake pads are worn out, look for a pair of new high-quality pads. How to replace brake pads is something any mountain bike should know and it is easier than you’d expect. You can get it done within 30 minutes, depending on your skill level and knowledge of bicycles.
It is also essential to test your bike and its new brake pads by going on a ride and braking hard a couple of times. This would assure you that all is working well.
Remember to add checking your brake pad to your regular bike maintenance inspection so that you can identify worn-out pads as soon as possible and clean the brake caliper during the process.