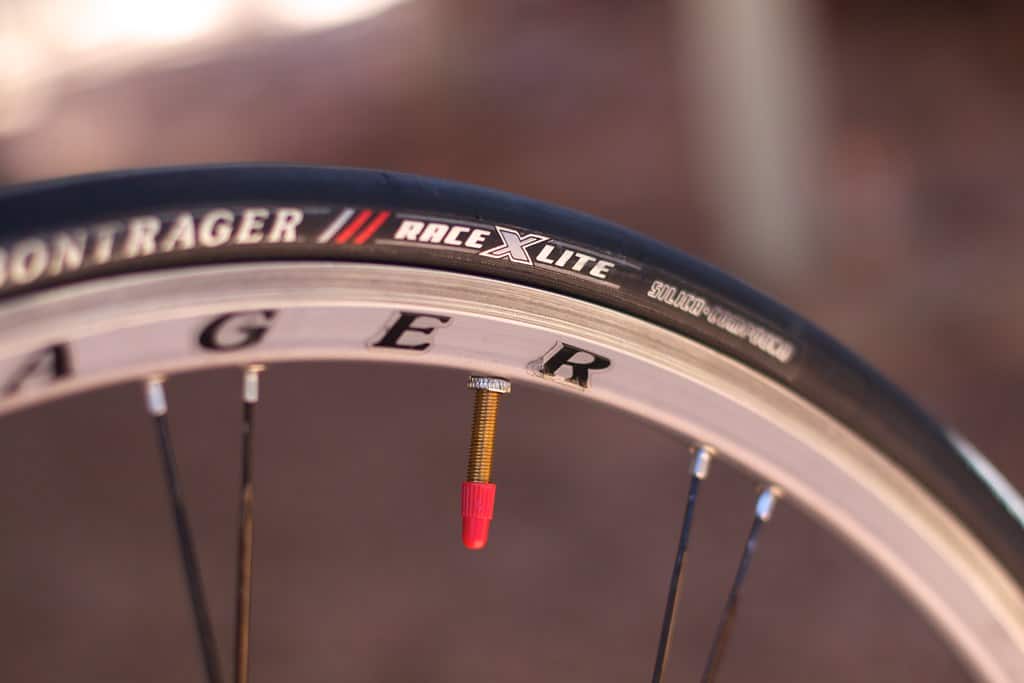
If you think that the tire’s valve stem is leaking or not maintaining the proper air pressure, it’s time to remove it from the tire. But how do you remove a valve stem from a tire in the simplest and quickest of ways?
Removing a worn-out valve stem requires a few tools, including vice grips and some other items to break the tire bead. You will also need a new valve stem to install into the tire.
With that being said, let’s head towards the initiation of the whole process as below:
Tools and Supplies You Will Need
To remove the tire valve stem, you will need the following tools and supplies:
Vice Grips: You will need them to hold and remove the tire’s stem.
2×4 wood piece: It will help break the tire bead.
Valve Core Tool: This 4-way tool is a game-changer. It will help you remove the old valve core and replace it with a new one simultaneously.
New Valve Stem: If the valve still leaks after replacing the core, you’ll need a new valve stem to replace it with the older stem.
Cutter: A cutter is also required to cut the upper part of the valve while replacing it.
How to Know What Valve Stem Size You Need?
The valve stem size depends upon the size of the wheel rim, especially when we talk about bikes. That said, the simple rule of thumb is to add 15mm extra with the height of the rim while deciding on the valve stem for the tire.
For instance, if the maximum rim height is 25mm, you’ll need a 40mm valve stem for that purpose. Similarly, one can take an idea about the right valve stem size for the tires in the table mentioned below:
| Valve stem length | Maximum rim height |
| 40mm | 25mm |
| 50mm | 35mm |
| 60mm | 45mm |
| 80mm | 65mm |
Source: Cycling Tips
Right after you know the size of the valve stem, you can get it from a local bike repairing shop or any marketplace according to your requirements.
Now, we’ll first replace the valve core in a tire with the help of tools and supplies, and if it does not work out, we’ll remove the whole valve stem.
Follow us for the step by step operation:
How to Remove Valve Core Step by Step Guide?
Step 1: Find the Slow Leak
Check whether the valve core is leaking or not by removing the cap from the valve stem. Drop soapy water on it, and if it makes bubbles, that means the valve core is leaking.
Step 2: Insert Valve Core Removal Tool
After removing the valve cap, insert the valve core removal tool inside the stem and twist it until the tire is completely deflated.
Warning: The tire could burst with air suddenly getting out of the stem, and it might blow contaminants in your eyes. Hence, we recommend wearing protective goggles and a mask before inserting the tool inside the stem.
Step 3: Remove the Leaked Valve Core:
The very next step involves removing the valve core from the stem. For that purpose, insert the tool inside and rotate it to the left to release the valve core.
Step 4: Install the New Valve Core
Install the new valve core using the same removal tool, and that would be it.
Keep the tool aside and follow the next step:
Step 5: Inflate the Tire Again
Inflate the tire again and after you are done with inflation, spray soapy water on the valve stem again.
If there are no bubbles, there’s no need to remove the valve stem. However, if the bubble remains, you’ll be required to remove and replace the old and worn-out valve stem.
How to Remove Tire Valve Stem
To remove the valve stem and replace it with a newer model, you’ll be required to follow the steps mentioned below:
Step 1: Deflate the Tire Completely
Press the core valve inside the stem until the air gets out of the tire.
The tire may burst out and cause damage if you do not deflate it properly, so pay good attention to it.
Step 2: Remove Tire from the Bead
Breaking the bead from the tire is somewhat tricky, but in the case of a bike’s tire, you can easily break it using vice grips.
If the bead is way too rigid, use the 2×4 wood as a tire lever and put force on it. It will break the bead of the tire and remove it conveniently.
Step 3: Remove Old Valve Stem
After removing the tire from the bead, find the old valve stem and remove it using pliers or vice grips.
Cut the upper part of the stem with a cutter if it’s stuck. Perform this action with care, or else you may damage the tire.
Step 4: Glue the New Valve Stem
Gluing or lubricating the new valve stem would help it to slide into the rim. We endorse using a dishwashing detergent to lube the stem properly, but you can lube it with soapy water as well.
Step 5: Insert New Valve Stem into the Rim
After lubricating correctly, insert the new valve stem through the hole of the rim and pull it through using the vice grips.
You can also use pliers or any other valve tool, but we recommend the vice grips as they can hold the stem valve easily.
Step 6: Inflate the Tire Again
Last but not least, start inflating the tire via the newly installed valve stem.
While you inflate it, the tire will automatically adjust itself around the bead.
Step 7: Spray Soapy Water
To check for leaks again, spray some soapy water on the stem, and this time, we are sure that there will be no leaks on the stem.
Step 8: Re-Cap the Stem:
Install the cap on the valve stem to keep the core away from attracting dust and other foreign debris.
Common Questions about Valve Core Removal
Can you fix a valve stem leak?
Fixing valve stem leak is possible in two ways, i.e., to remove and replace the valve core via valve core removal tool and to replace the entire stem. We’d suggest that you replace the valve core first. If it still leaks, you’ll have to replace the old valve stem with a new one by removing the tire from the bead and inserting the new stem into the rim.
Can I remove the valve core without any tool?
Although we recommend that you get the valve core removal tool, if that’s not possible, you can pull out the core by simply using the needle-nose pliers. Remove the cap from the valve, insert and hold the valve core using the needle nose pliers and pull it out manually.
How do you replace a valve stem?
After removing the old stem from the tire, start with gluing and lubricating the new stem so that it can easily slide and pull through the rim’s hole. Insert the new core stem inside and pull it through the hole of the rim using vice grips.
Conclusion
Removing the valve stem and valve core from the tire requires no special skills as you can easily perform this experiment at your home.
Follow the step-by-step process mentioned above and start with checking the leaks first. The whole process won’t take more than 2 to 5 minutes if you can diagnose the leaking problem in the tire.
There’s no need to replace the valve stem if installing the core valve has resolved the leakage problem. But, if it persists even after replacing the core valve, you’ll need to install the new valve stem into the tire.
However, if you still think that you won’t be able to pull it off, take your bike to a local tire shop, and the mechanic there will do that for you.
Good Luck!!


