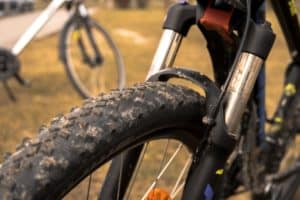
The pinch flat is a common problem that can happen to any type of bike, but it’s most often seen with downhill mountain bike racing and downhill bike riding.
It happens when your front tire hits an obstacle such as a rock or small pebble and is forced downwards under the frame.
The downward motion of the frame on top of your tire causes pressure on an area of your tube near the valve, which in turn bends it slightly and pushes against the rim.
This prompts air from inside both tubes to escape out through this puncture hole, creating a flat spot near the rim.
The good news is that it’s an easy repair to do yourself. You’ll just need some latex or rubber cement, an A/V repair kit with a valve, and some super glue.
How To Repair a Pinch Flat?
When you are making the repair, it’s also useful to have a tire lever or other tire wedge handy so you can open up your tire if needed.
I recommend using latex cement because it comes in smaller tubes which are easier to work with on small flat spots on your rim.
It also dries very quickly and doesn’t get gummy if you don’t use all of the tube. Super glue is my preferred gluing agent because it dries clear, but works just as well if you’re using rubber cement.
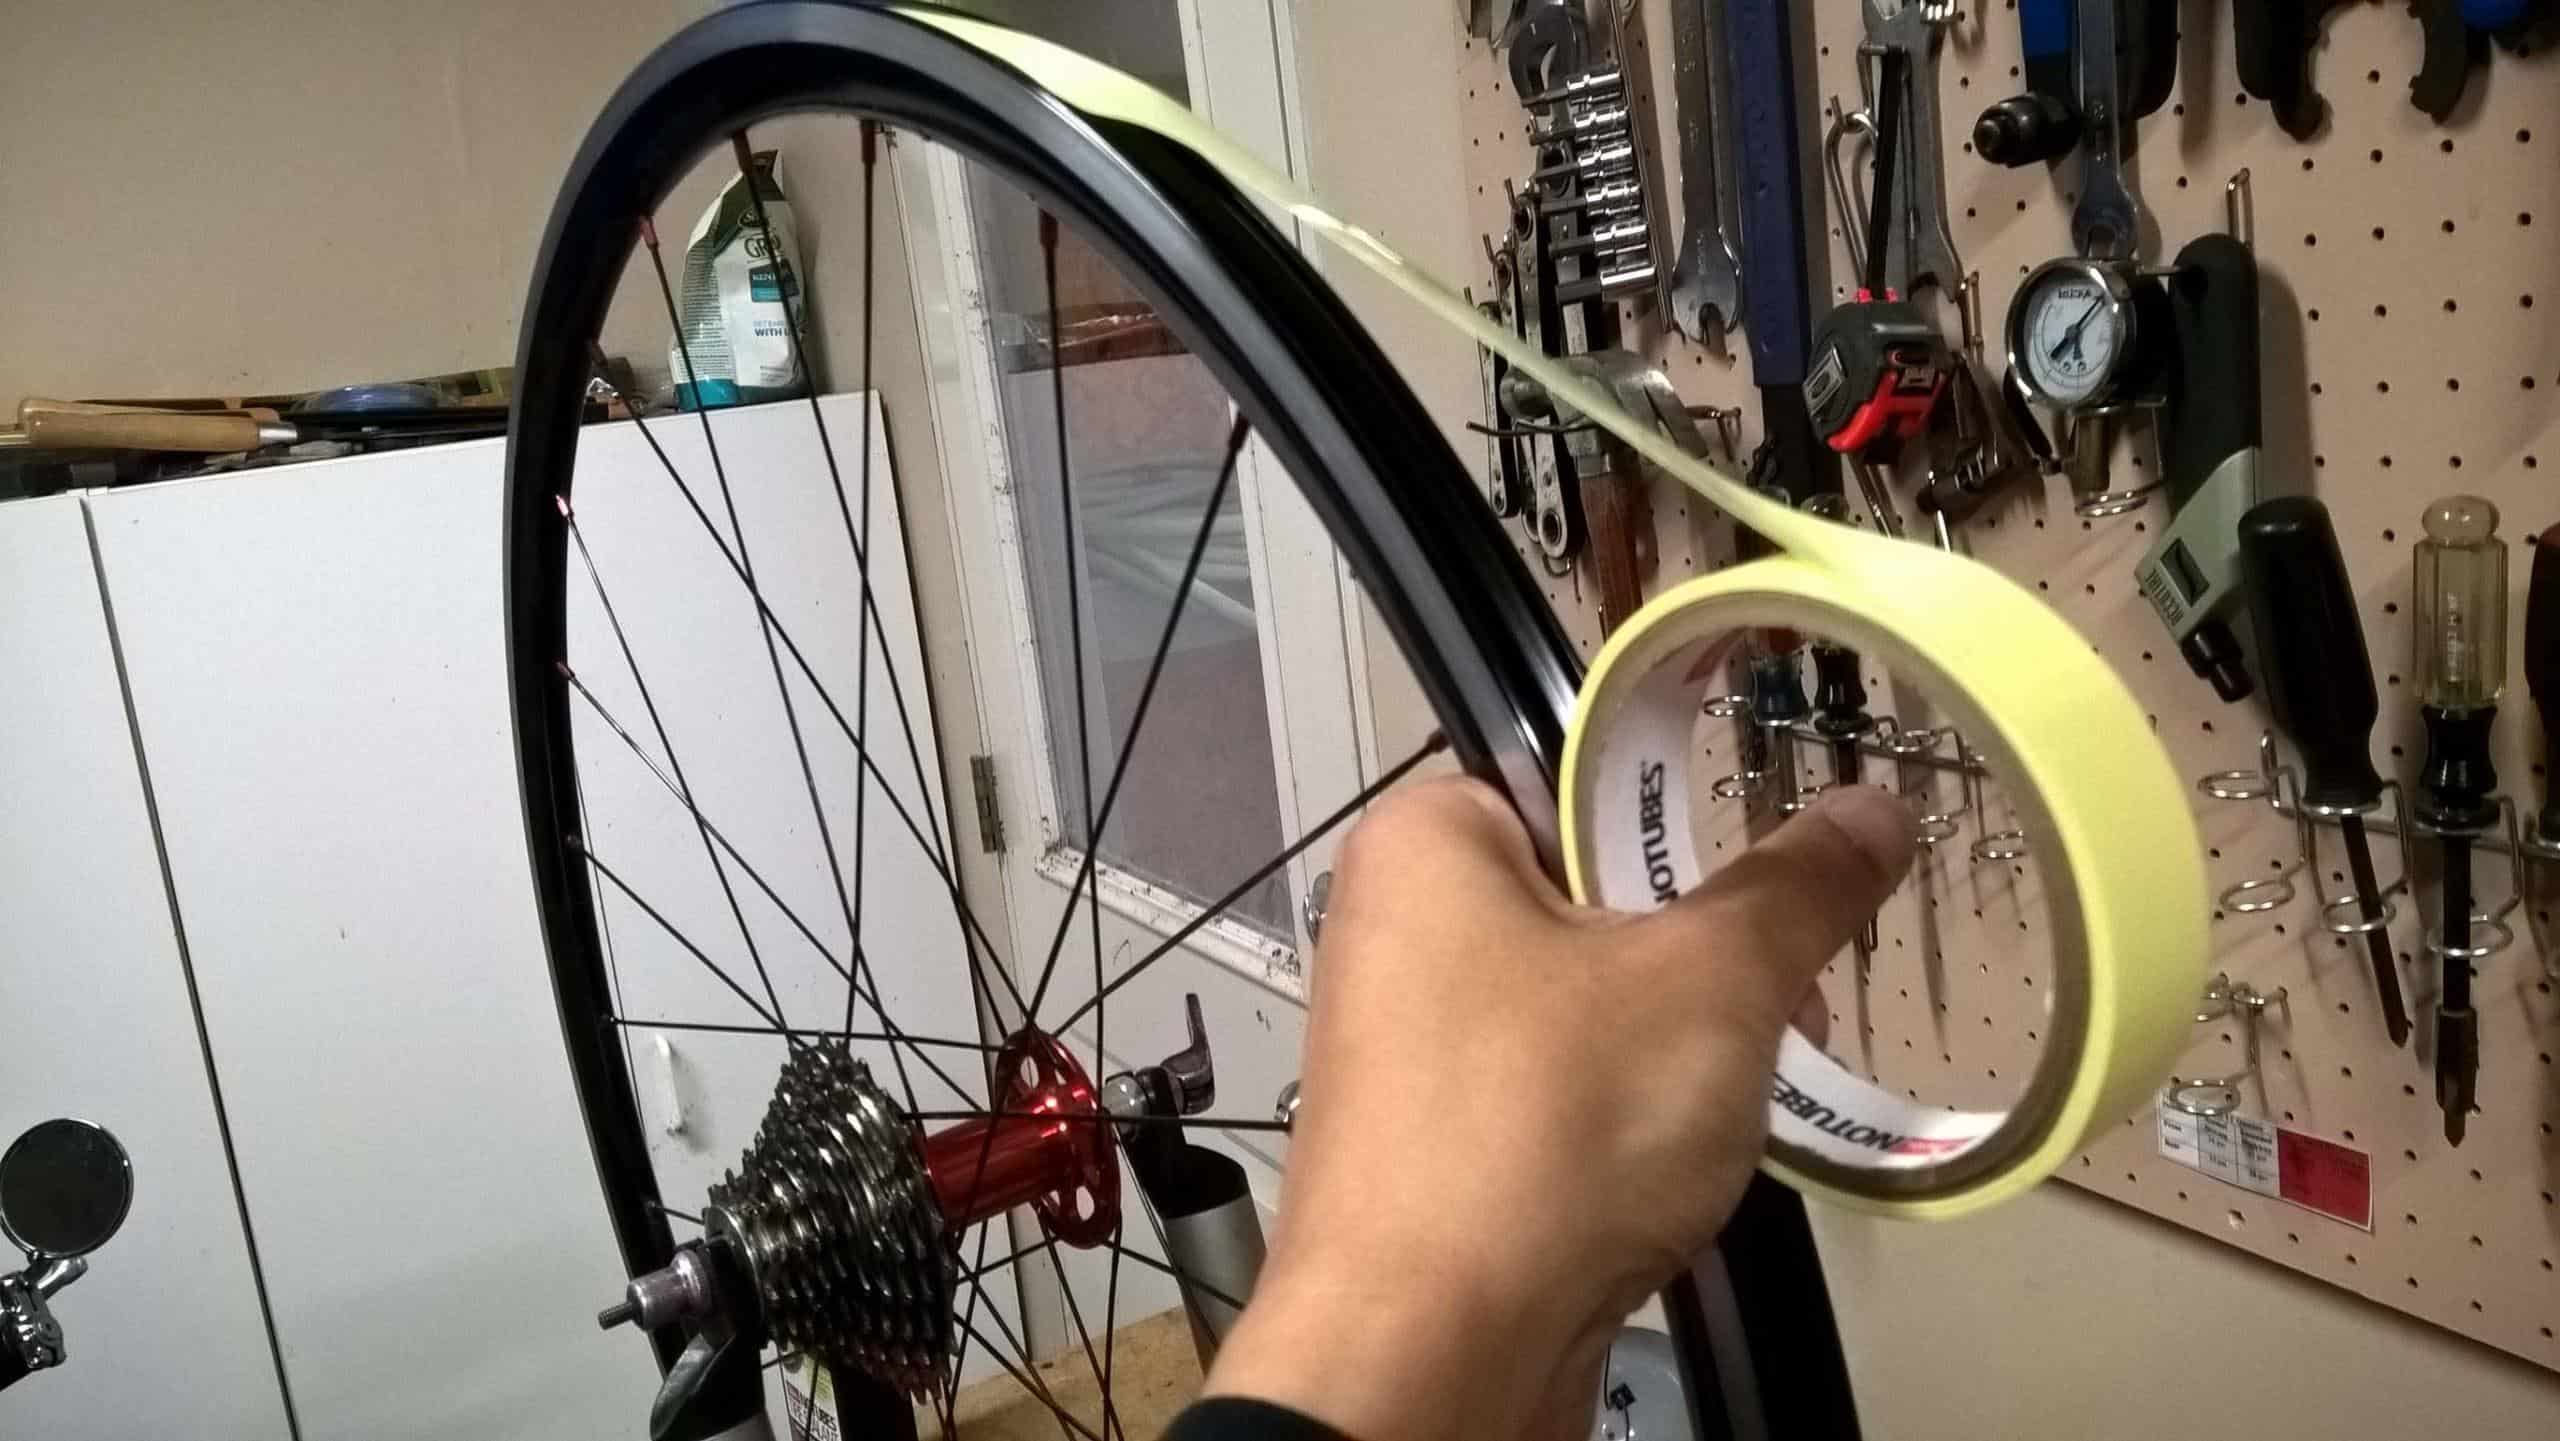
Step 1: Find the flat spot on your rim. If you are fixing a front tube, it’s usually near the valve stem because that’s where the tube is bent when your tire gets pinched between your frame and an obstacle. You can use a small screwdriver or tire lever to pry your tire away from your rim at this location to check for any dents in your rim.
If you are fixing a rear tube, look for dents on the inside of the rim where it touches your tire near where it connects to your chainstays or seat stays. If the dent is extremely minor, you may choose to ignore it and move on to step 2 below.
Step 2: If your tire is flat at one point and there is no dent in the rim, then you’ve got a cut in your tube that was caused by a sharp object like a nail or thorn hitting your tube sideways. The small amount of air escaping from the cut indicates that this type of puncture isn’t what you are dealing with here, so you’ll need to identify the flat spot on your rim before moving on.
Step 3: Apply some glue to this area using your finger or a brush (if using rubber cement). The glue will fill the small space between your tire and rim. You’ll want to leave a little space clear of glue where the valve stem is located so it can still be used to inflate your tire.
Step 4: Use super glue or latex cement to reseal the puncture hole in your tube. Apply it in small amounts, let dry, then continue applying sealant until you are satisfied that there are no leaks where the tube is leaking air.
Drying time for latex cement will be about 5 minutes, while super glue has a much faster cure time of 10-20 seconds and is best left to dry on its own without applying further pressure on the area while it dries.
Step 5: Once both holes in your tube are patched you’ll need to let the glue dry for 24 hours. At this point, it’s ok if there is some glue on the outside of your rim which you didn’t get cleaned off before applying pressure.
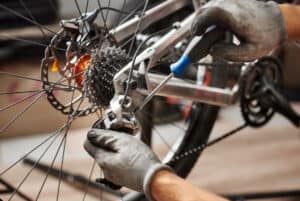
Step 6: The next day, deflate your tire, remove it from the rim and give it a thorough cleaning with soap and water before reinstalling it the same way that the tire was positioned when you removed it.
Folding or rolling a tube in half can help prevent a kink in the tube when reinflating, but folding too much can cause weak spots in your tube which can lead to another pinch flat later on.
The weak spot will be repaired by the glue that you applied, but using too much glue may weaken the other areas of your tube which can cause other problems down the road.
Step 7: Finally, inflate the tire to check for any additional leaks caused by small pieces of dirt or dust which were temporarily trapped in your tire when you were handling it to fix the flat spot. If all is clear, enjoy your tires even more than before!
Get to know more about pinch flats and repairing them from the Regular Mountain Guy
Tips to Prevent a Pinch Flat
It’s easy to avoid pinch flats if you are aware of them and learn how to handle them when they occur.
Some pinch flats are unavoidable because they are caused by sharp objects which puncture your tube through no fault of yours.
If you are confident in your bike handling skills, you may also want to consider purchasing a new bicycle because the impact of a pinch flat is less severe with higher quality components.
Another issue that can cause pinch flats is torque or stress on the tube when you are riding. If you are carrying heavy gear or your bike is made of thick tubing with little geometry, then there’s a greater risk that even small obstacles could cause enough stress on the tube to pinch at the valve.
This can be prevented by removing anything that could cause extra weight on your bike, such as water bottles and extra layers of clothing, and only carrying the essentials for quick trips.
Pinch flats can also occur when you are already low on air in your tires, especially if you’re riding with the pressure set too high, to begin with.
Some More Useful Tips For Avoiding Pinch Flats:
Make sure your tires are properly filled with air. Deflate them to check for any leaks before putting them back on the rim. Bring the tire to room temperature before inflating it.
Don’t overinflate your tires, which can lead to too much pressure and cause the tube inside to kink or fail completely.
The only time the recommended pressure should be over 30 psi in your tires is when you are riding very hard.
Riding slowly, or carrying too much weight, can cause your tires to weaken and tire failure can occur suddenly.
Wear gloves when handling tools for bicycle repair. It’s easy to slip and cut yourself on them, especially if they are sharpened.
Keep track of the air pressure in your tires to avoid any surprises when you arrive at the trailhead.
Don’t ride with under-inflated or flat front or rear tubes. Your mountain bike’s geometry dictates the pressure that is used in air-filled tires depending on how far back from the valve stem each tube is located.