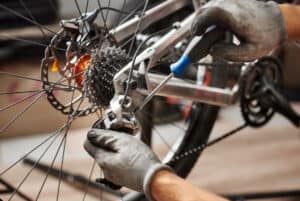
Your bike will always want some TLC and replacement of the components from time to time. One of those components will be the crankset.
The bottom bracket may require service after a long while, or you may have to change the chainrings after they wear out because you don’t want them getting cranky.
Why take your bike to the bike mechanic and spend money on a service you can do yourself? We will teach you how to remove a bike crankset with or without a puller and all the info you need.
What is the Cransket And Why It Needs Replacing
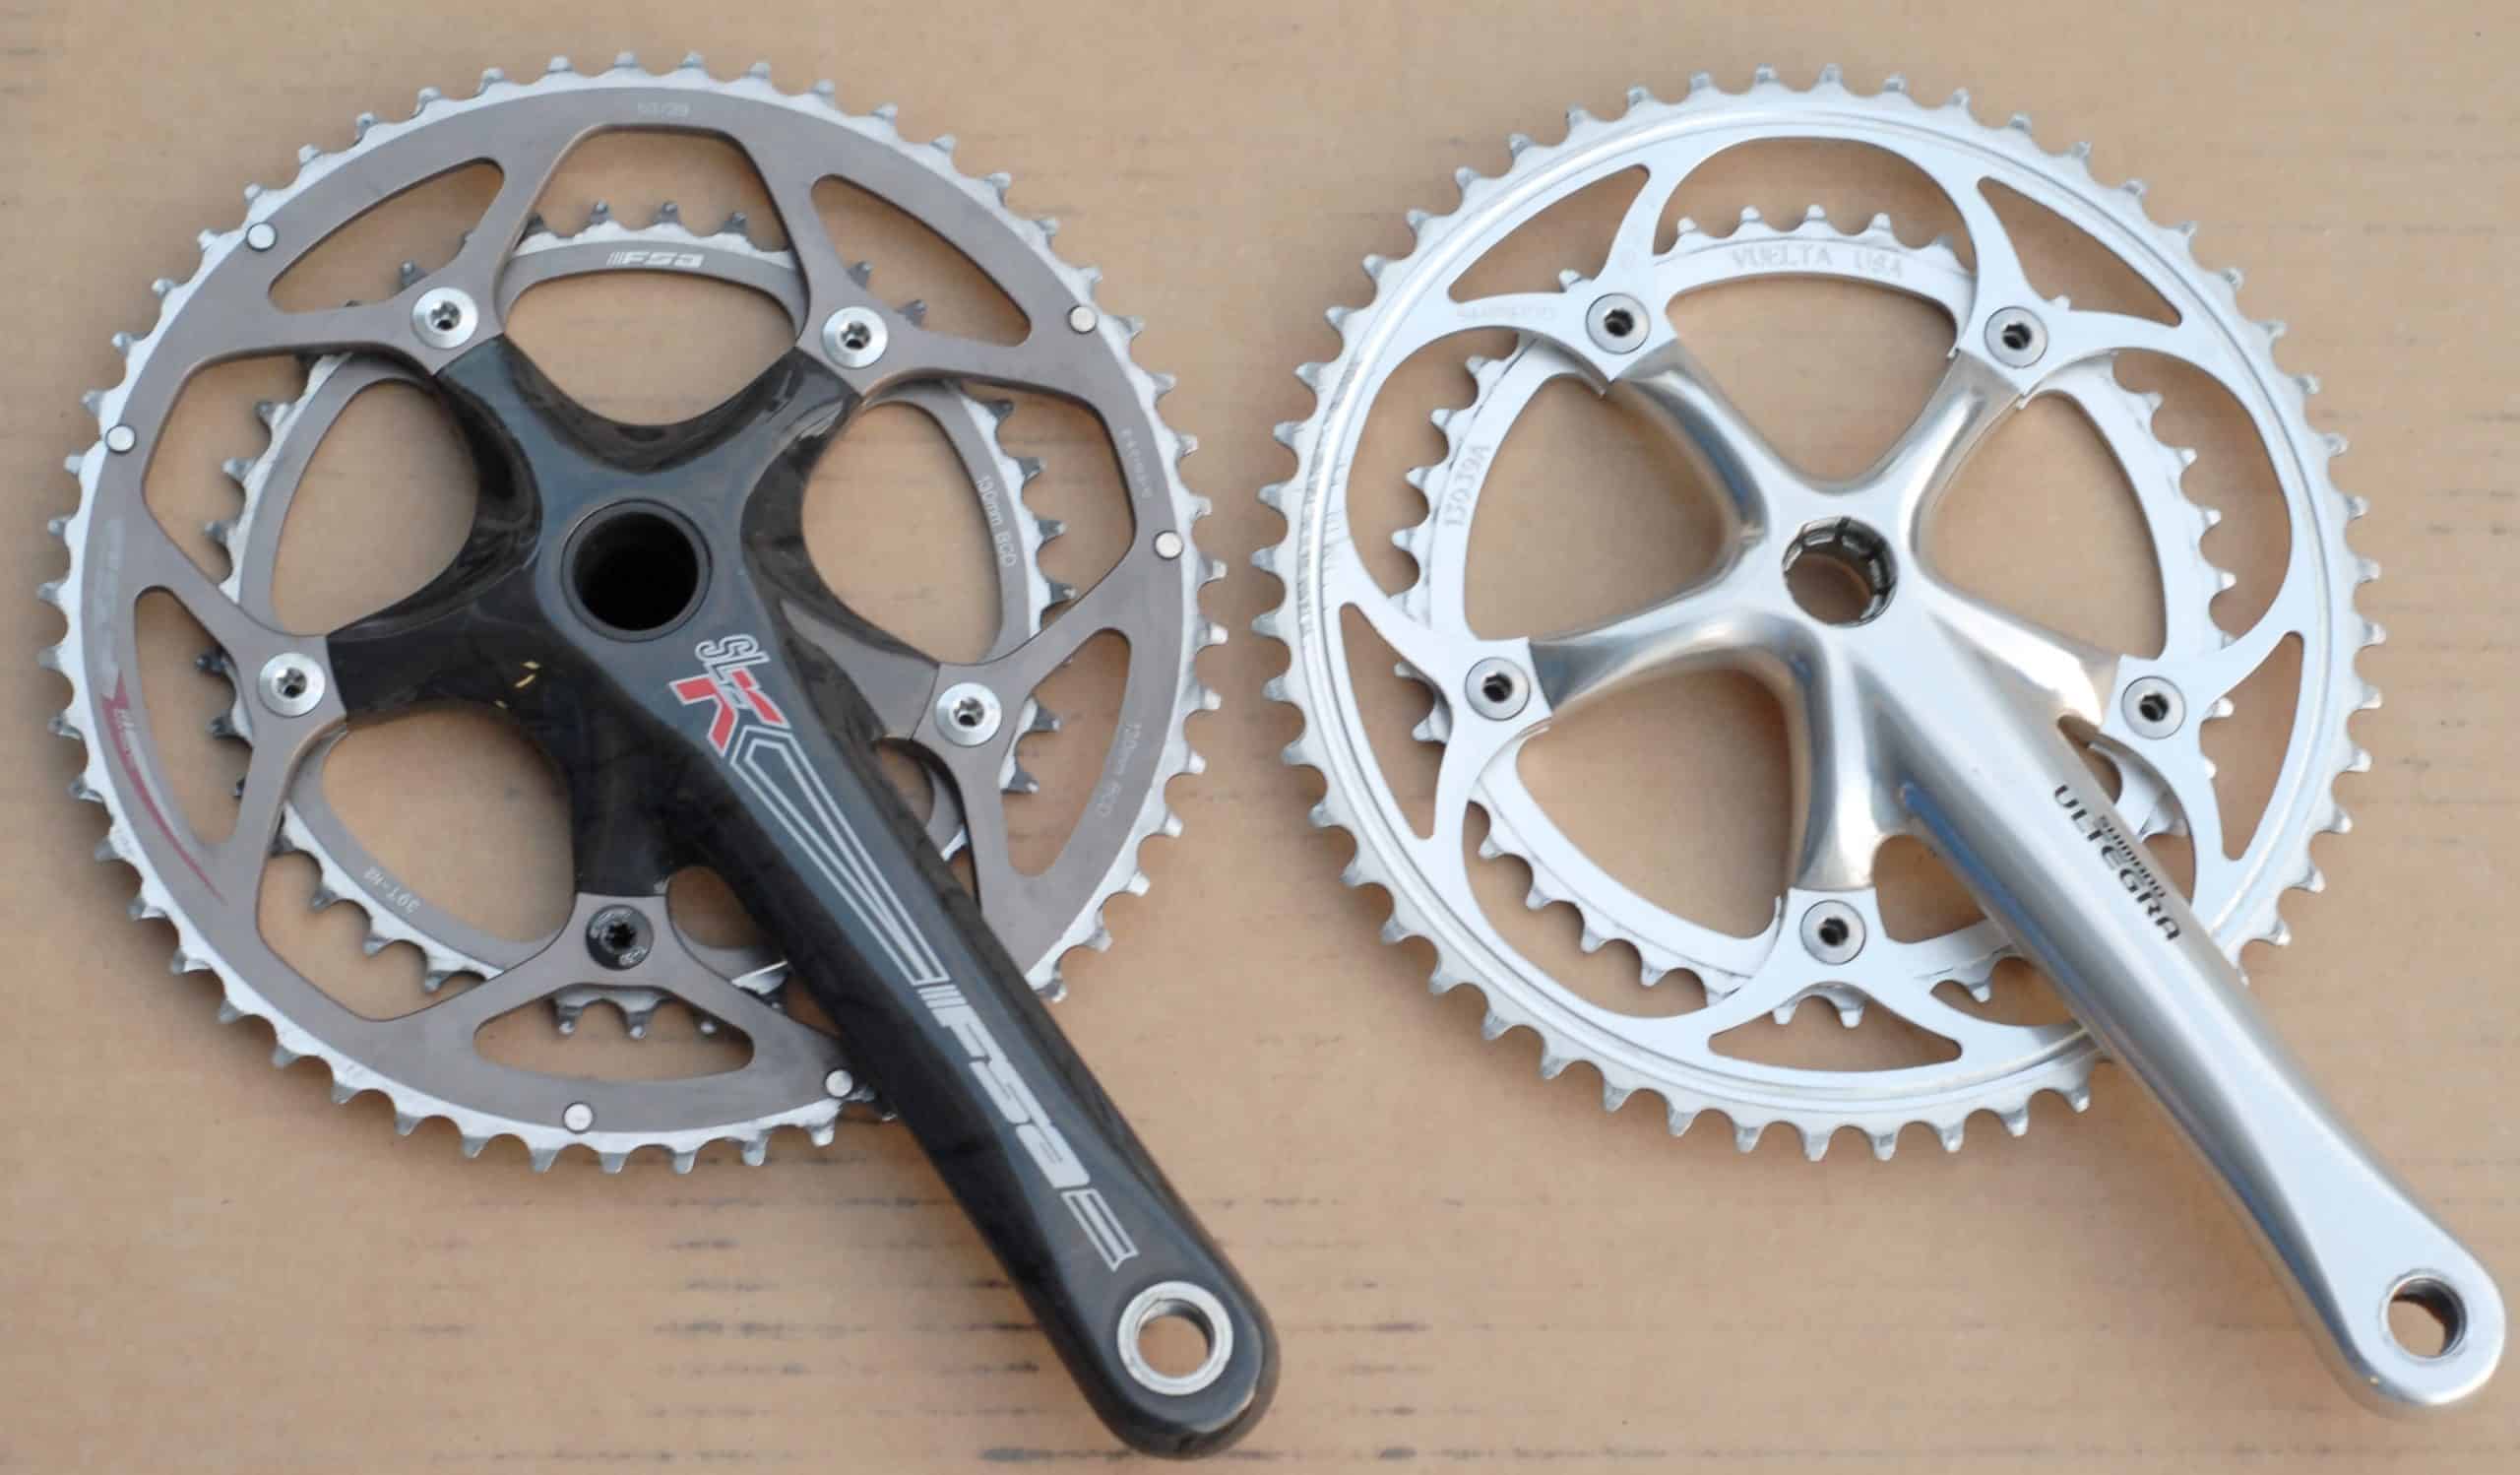
If you have been riding a bike for some time now, you already know what crankset or cranks are.
If that sounds like a word from another world for you, the crankset comprises the levers connected to the pedals with one vertical joint going through the bottom bracket.
A crankset involves the cranks, chainrings, and the bottom bracket, excluding the front derailleur and the pedals.
In other words, the crankset is the primary power transmitter that the rider uses to rotate the cassette on the rear with the help of a chain. Thus, the crankset, together with the cassette, chain, derailleurs, and shifters, make up a drivetrain.
That must have been simple, right? Now, why remove the cranks? Don’t they last forever with the bike?
The truth is, as you rotate your cranks, the more the BB will need to be regreased. Also, the chain eats the crank teeth little by little, and your crank goes through seasons.
The rain and water especially are not your friend when it comes to the wellbeing of your bike.
The importance of removing the cranks is to repair, maintain, or replace them, and no, they don’t last forever. The only part of the bike that might last for a long time is the frame, and the wheels might do the same as well.
Otherwise, every moving part, including the crankset, will one day come down after thousands of miles. It starts with an annoying sound, either from inside the BB or skipping of the chain.
When that happens, you’ll either have to service or replace the BB and replace the chainrings, but it depends on whether your chain is in good condition.
How to Remove the Crankset Without a Puller
Cranks from a tapered crankset system are removed using a puller. Any other option of removing the cranks, like using a hammer, is bound to fail or damage your crank.
Maybe, there’s one, just one way, of removing the crankset without using a puller. Let’s dip the cat in the ocean.
Removing the crank without a crank puller is not for beginners. Other methods may damage the crank and put you in danger.
Even though there’s an option of not using a puller, I would highly advise you to buy a crank puller for less than $10 or borrow from a friend.
If you are still hell-bent on removing a crank without a puller, here’s how to go about it. Of course, this applies to three-piece cranks and not the two-piece compression slotted cranks.
Step 1: Remove the bolt using a spindle. Rotate it clockwise.
Step 2: Once you have removed the bolts, you’ll need to ride your bike around for the pedals to loosen up. Just don’t pedal hard.
Step 3: Once you notice the crank is no longer tight and playing a bit, stop pedaling.
Step 4: Grab a piece of wood and a hammer. Point the wood towards the center of the crank arm. Hit the top of it with the hammer softly. Do the same for the crank. Be careful not to hit your fingers.
If this doesn’t work out, you’ll have to be patient. Otherwise, you can decide to take the safest option, taking your bike to the shop for full service.
How to Remove Crankset With a Puller
In case you are using a puller to remove the crankset, you must know that there are two popular MTB crankset types, namely:
- Two-piece compression slotted cranks
- Three-piece cranks
You need to know the difference because every type is removed differently. For example, the puller removes the three-piece cranks, while the two-piece requires a different style.
Every kind of crank uses specific BB systems and cannot be interchanged unless the crank is for a threaded system that most three-piece cranks work well with. Here’s more about the cranks.
Two-Piece Cranks
If your bike uses the 12-speed SRAM Eagle or Shimano Deore XT, SLX, or XTR, the chances are that the groupsets have two-piece cranks. Some FSA cranks also use this system, but the big problem is that the three brands are incompatible.
These cranks come with a spindle attached to the crank side, and a crank arm tightened with two pinch bolts.
These cranks don’t use bearing cups, and they don’t require a crank puller to pull them out. However, you must remove the caps before removing the cranks.
How to Remove Two-Piece Cranks
Tool required:
- Hex key
- Bottom bracket tool
- Torque wrench
Step 1: Does your chain come with a quick link? That will make it easier to remove the chain. Otherwise, you can lift it off the chainring and rest it on the bearing cap gently.
Step 2: Loosen the pinch bolts of the left crank arm, but not fully not to lose them and experience the nightmare of your life.
Step 3: Grab your bottom bracket tool and use it to remove the plastic pre-load cap. The tool varies with the crankset brand. Shimano, FSA, and SRAM don’t have exact caps sizes, while some have none at all.
Step 4: Take the left crank off the spindle, and tap the end of it with your hand. If you feel like it’s a bit hard, use a rubber mallet to loosen it and pull the right crank out from the other side.
Three-Piece Cranks
The three-piece crank is the most common type of crank coming with all low-budget bikes. It includes the left arm, axle spindle, and right arm.
To replace or repair this entire crankset, you must remove the crank arm and the crank. Both arms have bolts that you need to remove. There are two types of three-piece cranks, namely:
- Square spindle arms
- Splined spindle arms
Though the holes where you insert the crank and crank arm into the spindle and the spindle designs at the edge are different, they work the same when removing the crankset.
How to Remove Three-Piece Cranks
Tools required:
- 8mm Allen wrench
- Long-handled wrench
- Crank arm puller
Step 1: Hang your bike on the stand and gently remove the crank bolt with an 8mm Allen wrench. Once you untighten the bolt, you can turn the wrench around and take out the bolts. Put them somewhere safe.
Step 2: Grab the crank puller, and turn its bolt, the large one on the outer side, and screw it as far as it can go to create space on the inside of the outer bolt.
Step 3: Take the crank puller, and insert the larger side inside the crank hole from where you removed the bolt. Turn the bolt of the puller until it reaches the edge. Be watchful not to cross the threads and damage them. You can apply oil on the threads before putting the puller if need be.
Step 4: With the crank puller in, take the long-handled wrench, about 15mm long, or you can take an adjustable spanner and use it to rotate the smaller bolt of the puller. It might look stressful at first, but that’s how tight the crankset can be. After two or three spins, the crank will loosen and slide out.
Step 5: be careful not to drop the crank on the floor or your feet. Once the crank is out, remove the puller and move over to the crank arm on the other side.
Getting a Stuck Crank Bolt off a Bike
You may have experienced that moment when one stubborn screw refuses to come out.
Your mechanic also goes through those temper-testing moments when they want to throw the bike away.
If it happens to your bike, you would be so mad at it. Most bolts, when tightened too tight and haven’t been moved for years, tighten up more.
As a result, they get stuck there, and not even prayers can cast them out. So, what should you do if this tragedy lands in your home?
WD-40. Yes, the spray is rust’s most dreaded enemy. It penetrates to the deepest corners, and you won’t help wonder how it just did that.
Just a few sprays on the bolt, stroll around for a few minutes, come with your 8mm Allen wrench, rotate the nut, and it will come out excitedly like an ex-convict tasting freedom for the first time.
But what if you don’t have the WD-40 and there’s none in the store near you?
You can get some penetrating oil, lay the bike with one side and the bolt facing up, pour some oil on the sides.
Let it soak for a while, maybe three hours or so. Be giving the bolt some light taps every few minutes.
Don’t use force, but rather tap the bolts many times softly. That helps the oil penetrate the tiniest spaces.
After a few hours, come back with your 80mm Allen wrench and remove the bolt like it was never there.
Hex bit may work too. You can hit it hard with a small harmer, and no damage will occur on the bolt or the BB.
For more ways to do it, check out the video below.
If it fails to come out completely, then you’ll have to drill that bolt out, and during that process, you’ll need the help of a professional. You don’t want to damage the components of your bike.
Crank Pullers: Are they Universal?
I get it that you don’t have a crank puller, and you want to buy one, but then what if you get one only to find out that it doesn’t fit your crank? Don’t make a rash decision.
Not only will you start processing the return of the puller, but that will be another day or two of not riding a bike if it’s the only bike you have.
Like Android devices and their charging ports, most bike companies come up with standard holes on their cranks and crankset.
A couple of companies have all-in-one tools that are switchable to fit a different purpose. So, whether you are using ISIS or square taper, there’s always a crank puller for your size.
There are also no mountain or road bike-specific pullers. They are all the same, and actually, most cranks use the M22x1 crank pullers.
A few cranks like the custom-made Cannondale SI and Profile ones may use a different type of crank puller.
But if you are using SR Suntour, FSA. Shimano, or any other common crank type, you don’t have to worry much about whether the crank puller will work.
Tools Needed and How to Unscrew a Bottom Bracket
We spoke about removing the cranks, but we must have forgotten that you may also need to remove the bottom bracket, maybe for repair or replacement.
Luckily, a bottom bracket is not expensive, but it depends on whether it is threaded or press-fit. Unfortunately, Press-fit is more costly than threaded.
However, make sure to carry your old BB to the shop when buying a new one. What tools do you need to remove a bottom bracket?
Threaded Bottom Bracket
Tools
- Bottom bracket removal tool
- Adjustable wrench
- Grease
- Rag
- Torque wrench
Step 1: If you have already removed the cranks, removing the bottom bracket is also easy, provided that you have the right tools. If the BB hasn’t been removed for a while, you’ll have difficulty removing it. Place the bottom bracket tool onto one side of the BB.
Step 2: Unfasten the bottom bracket tool clockwise and avoid slipping and damaging the threads. If you don’t have a more extended tool, you can use a pipe to untighten the bracket.
Do the same on the bottom bracket of the other side. Clean the area to get rid of all the dirt or water that may have gathered inside.
Press-Fit Bottom Bracket
Tools
- A small hammer
- A piece of wood
- Press-fit Bottom Bracket Removal Tool
Step 1: Let’s assume you’ve already removed the crank, as explained earlier in the article. So you’ll be left with two dust caps to remove.
Step 2: After removing the caps, grab the tool from one side and straighten up the tool, then do the same from the other side.
Step 3: Position the tool’s head inside the edges of the bearing with the handle in the center of the shell. Both sides of the tool will hold both sides firmly.
Step 4: With the tool inside, sharply hit it with a hammer as you hold the tool firmly.
Step 5: After three good hits, the cup will have started moving out. Keep hitting. The up will pop out real soon, so have your hands ready to catch it. Repeat the process on the other cup, only that you’ll have to balance the tool on it.
How to Know that Your Crankset has Worn Out
Obviously, you can tell whether your crankset is worn by looking at the chainring.
You don’t have to worry about the whole crankset, as you can change the worn-out chainrings and enjoy your ride as usual.
If the teeth are all worn out all around, and the chain keeps slipping off when you rotate your cranks, that means the crank has completed its tenure.
If a section of the crank doesn’t have the same cut teeth, which look worn or damaged, it could be a design.
They are cut like that to promote better shifting. As long as there are no issues whenever you are shifting and spinning your cranks, they are no issue at all, and there is no need to replace your crank.
However, if you want to change your chainrings for your own pleasure, please do, and donate those you have to me. Just kidding!
You can also change the entire crankset or upgrade from threaded to press fit. So if you are looking to change the whole crankset because you think it has worn out, or you want a smoother one, you can go ahead and do it.
If you don’t experience any issues shifting and the bottom bracket is not making any annoying sounds, then there’s no need to replace your crankset.
Sometimes the crankset may not have worn-out teeth but bent chainrings. A bent one may cause you to slip unexpectedly or crash. Even worse, you may end up going over the bars or crashing terribly.
In such a case changing the chainrings and servicing the bottom bracket is the only thing you can do.
Final Remarks
The crankset is crucial to your bike. Even downhill bikes have them. They are not just for propelling your bike, but they also help keep you stable on the bike.
That said, I believe we have answered most of your questions, but if you have more, ask us, and we’ll do our best to help.


This is a great article! I have a bike that I’m trying to remove the crank set from, and I’m not sure how to do it without a puller. This article has given me some good advice.